3.3
Specifics of making implant-supported single crowns
Specifics of making implant-supported single crowns Specifics of making implant-supported single crowns Specifics of making implant-supported single crowns Specifics of making implant-supported single crowns Specifics of making implant-supported single crowns Specifics of making implant-supported single crowns Specifics of making implant-supported single crowns
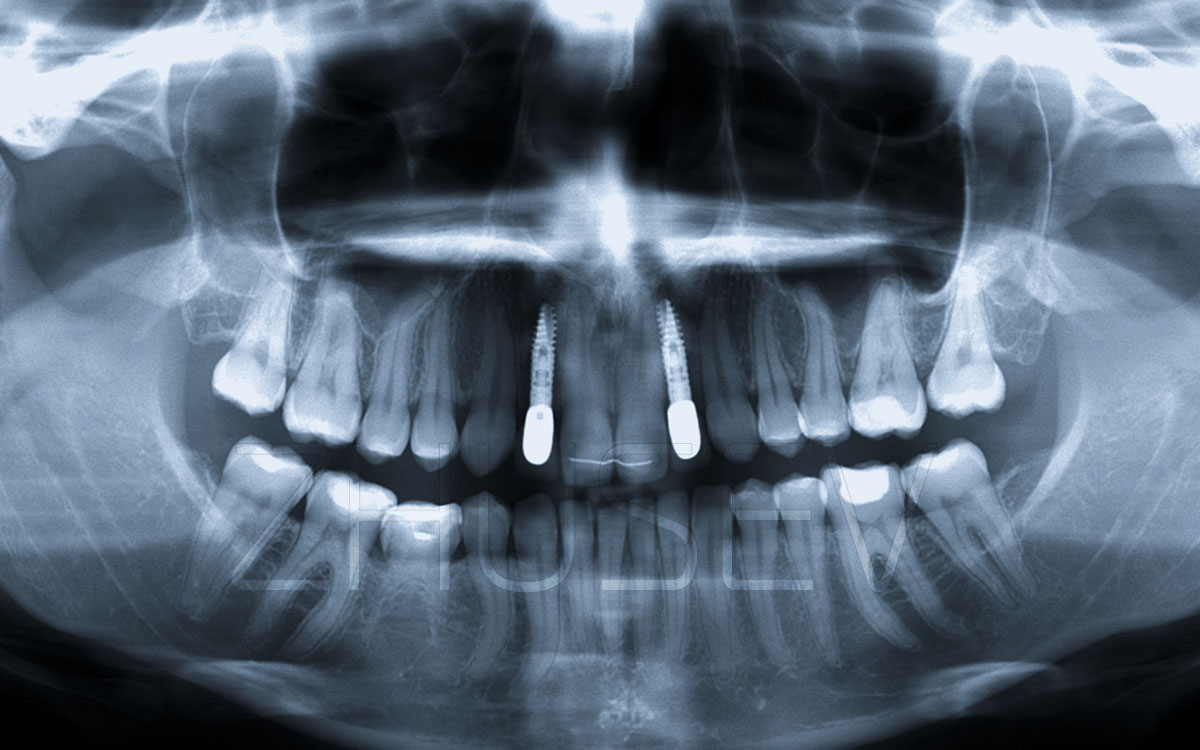
Implant-supported single crowns are both simple and complicated constructions at the same time. The major problem that may occur is a variety of occlusal load types (due to its direction, force, and duration) that falls on a single crown with an implant inserted inside, which acts like an ox. In this case, we should block any rotative motions that may occur both between the implant and the abutment, and between the abutment and the crown. Of course, this should not compromise the esthetic appearance, as it is the priority in this case. Blocking the rotative motions between the implant and the abutment is achieved by means of the tight connection of the Morse cone and the polygon. And to provide the crown’s stabilization, we should apply the method of stabilization along the adjacent teeth equator through modelling of the contact points. Here, you should pay much attention to checking the occlusion. As the implants have no periodont, early continuous occlusal contact may cause the implant overload, rapid bone resorption around the implant, and even loss (fracture) of implant. Further on, an occlusal contact should occur on the natural teeth first, and on the implants – only at the last moment of bringing the jaws together.
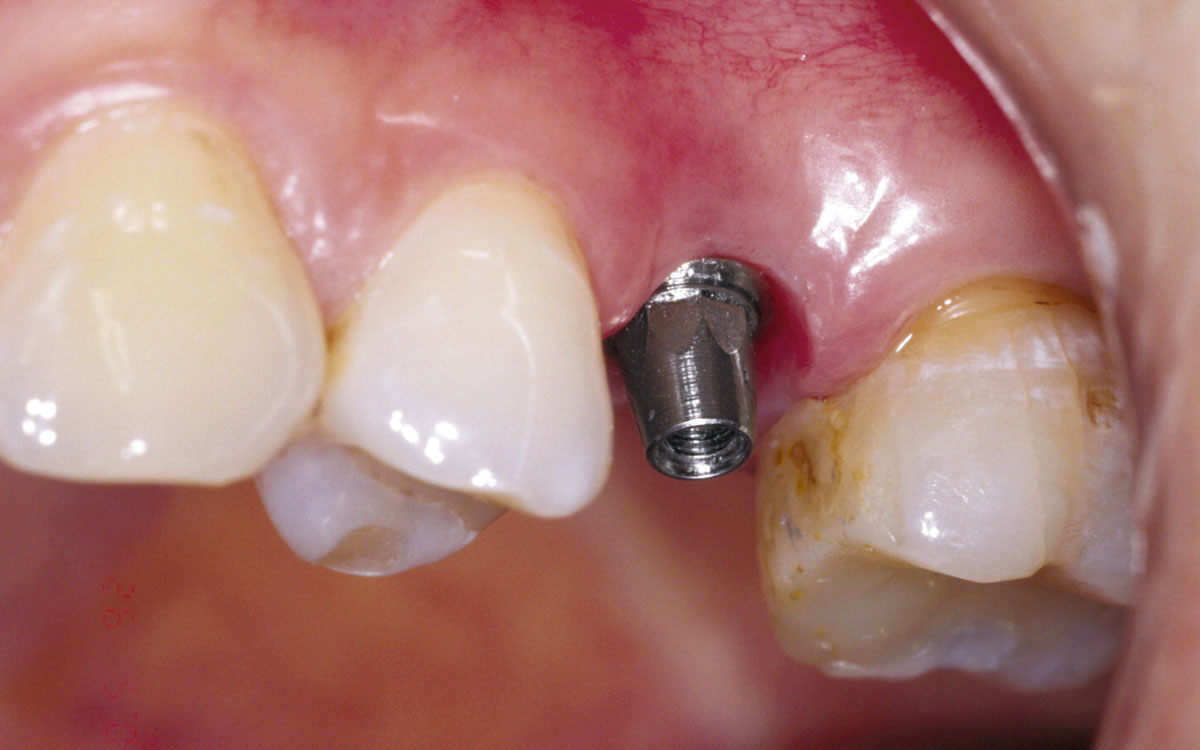
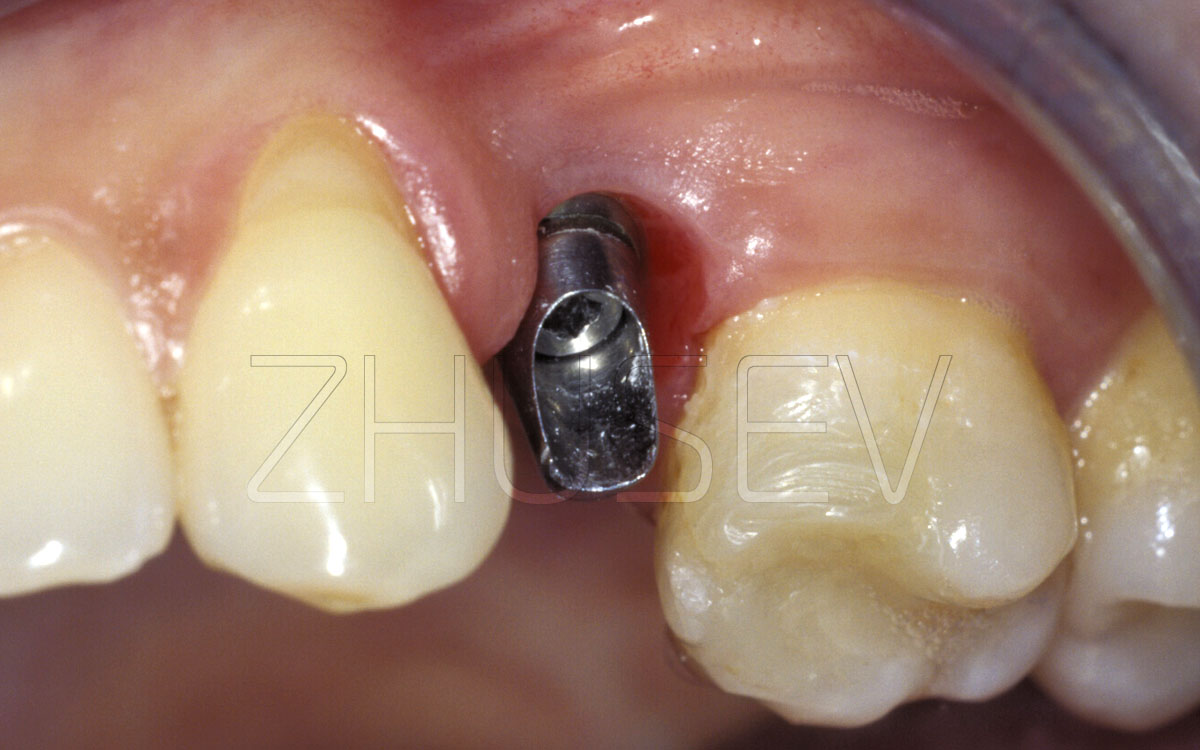
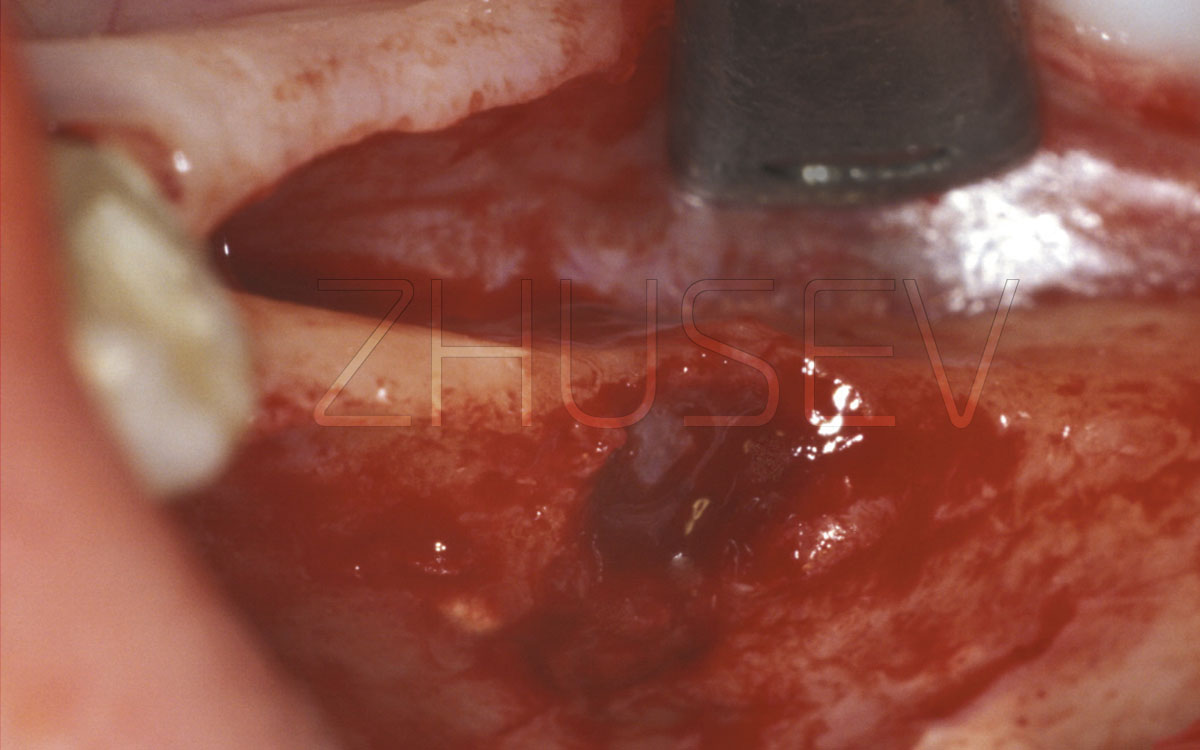
3.3-1A
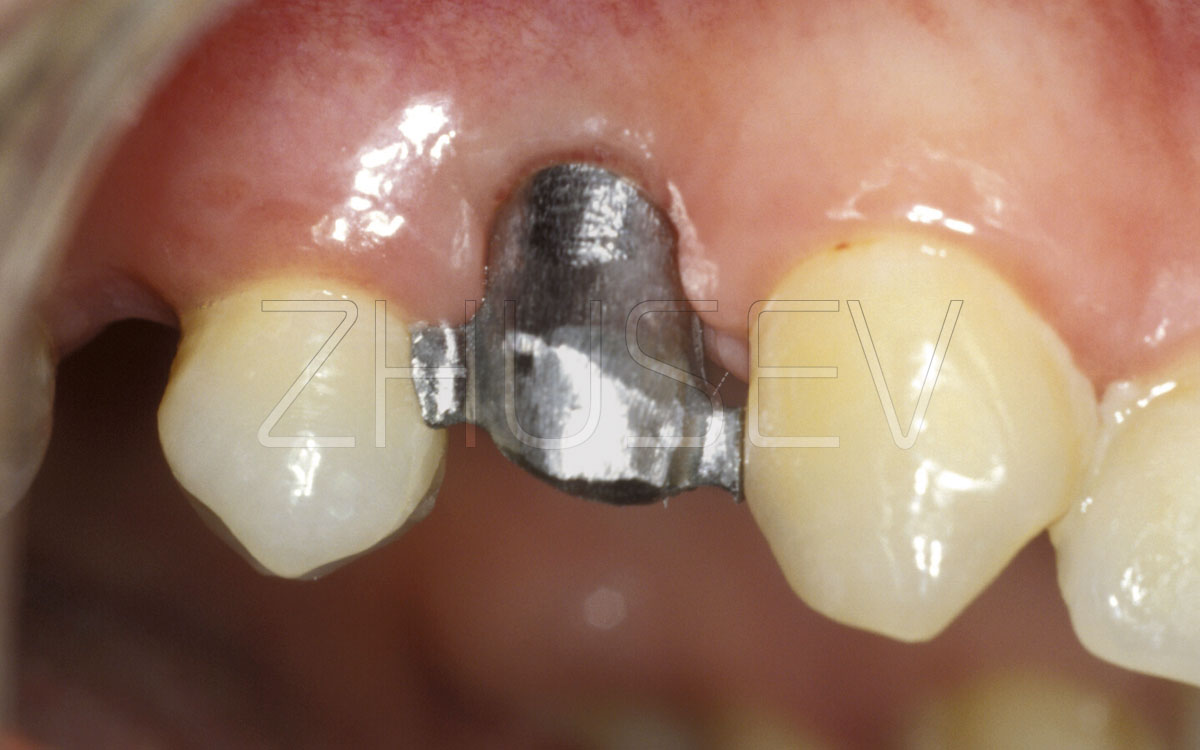
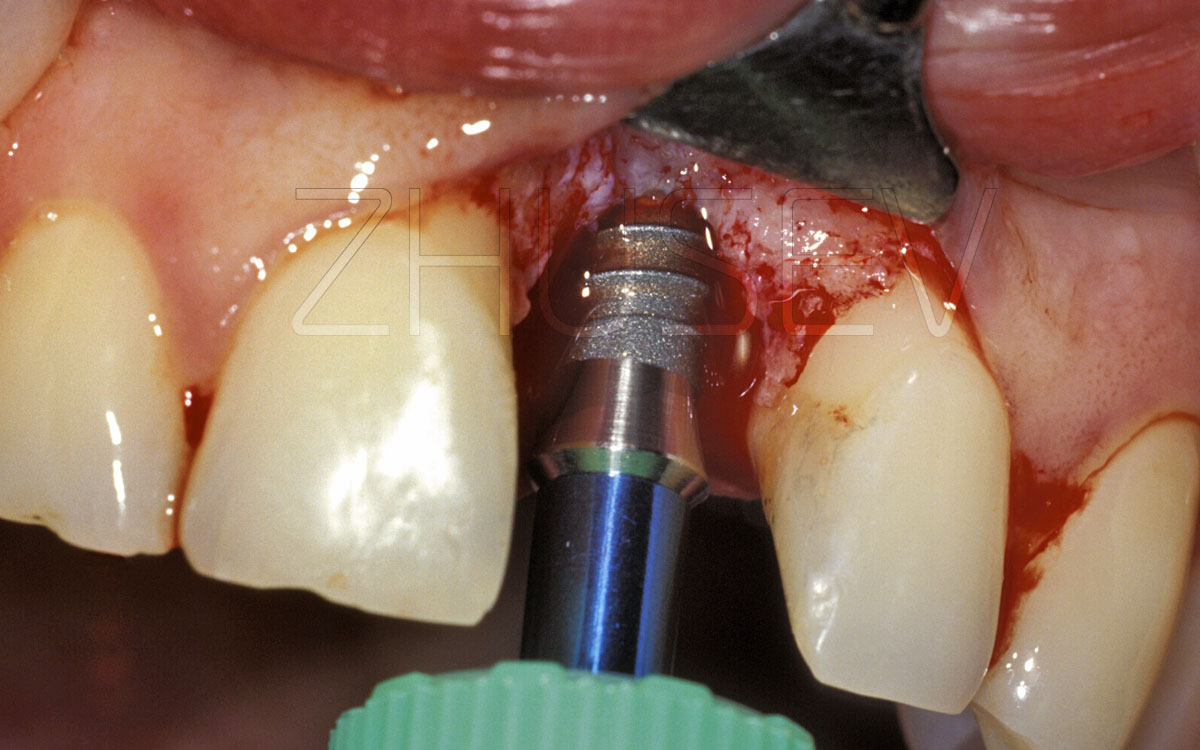
View of an abutment and an implant in the area of the tooth 25.
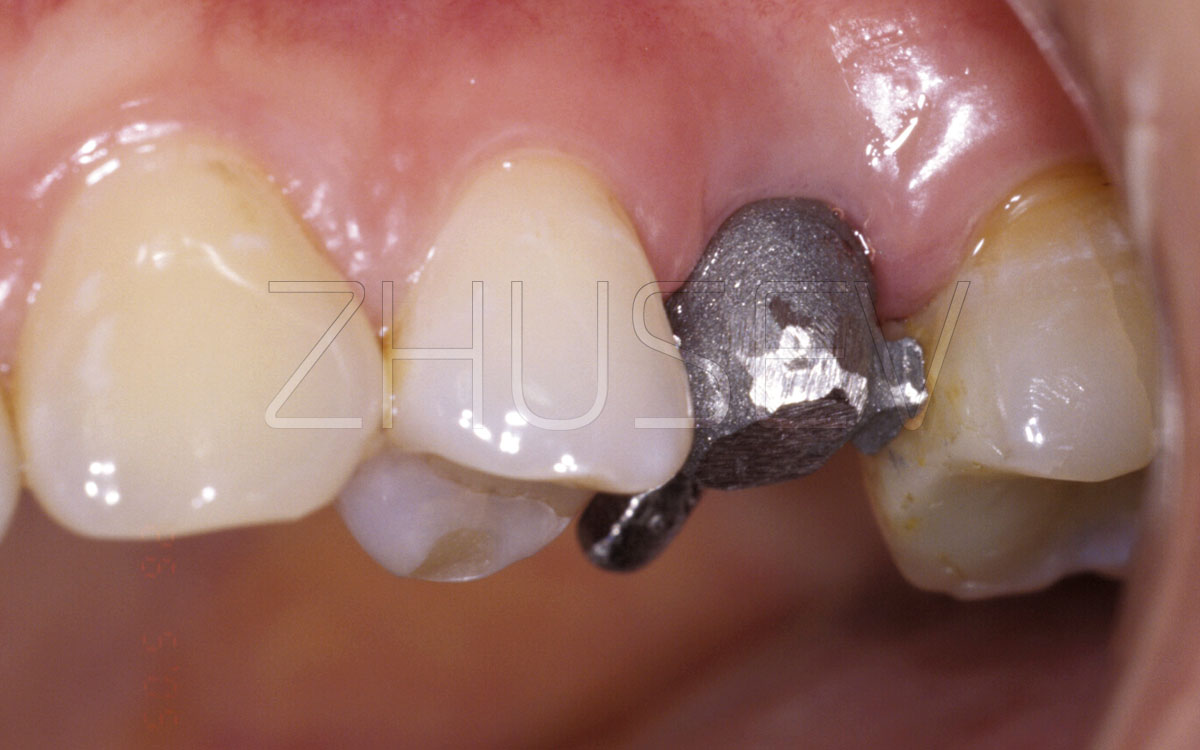
3.3-1B
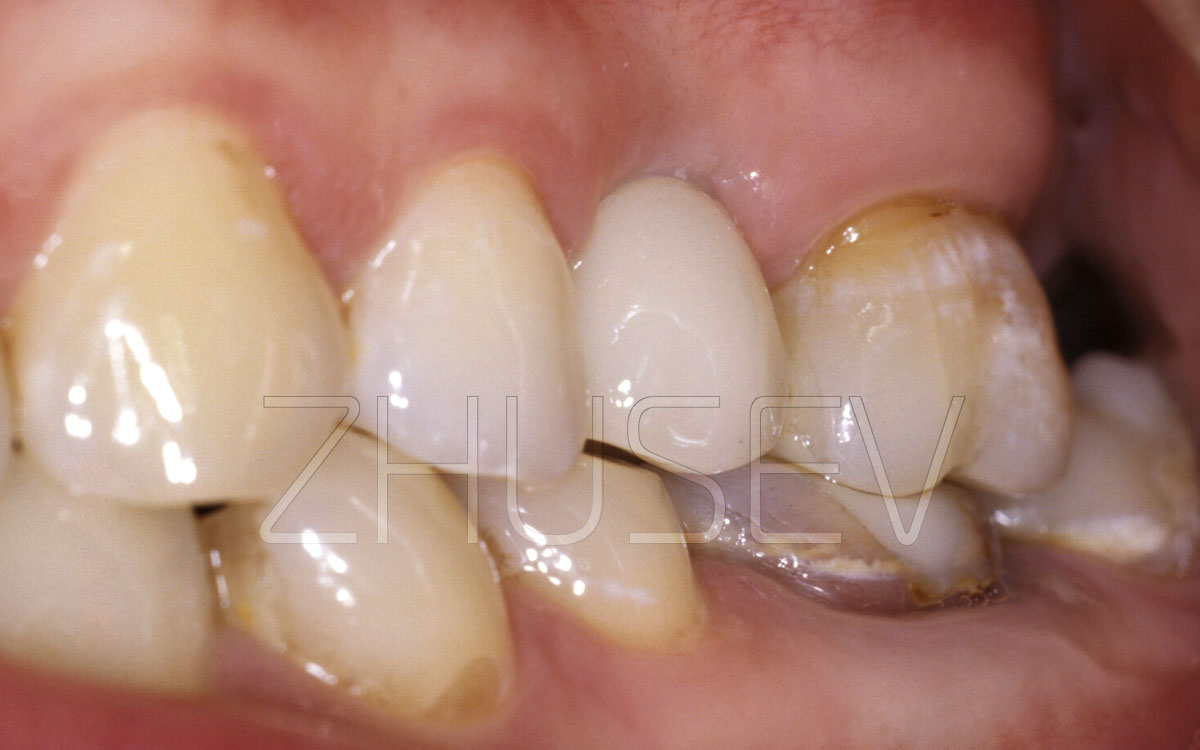
Trying on the cap. Be sure to tightly fit the coronal equator tips to the adjacent teeth.
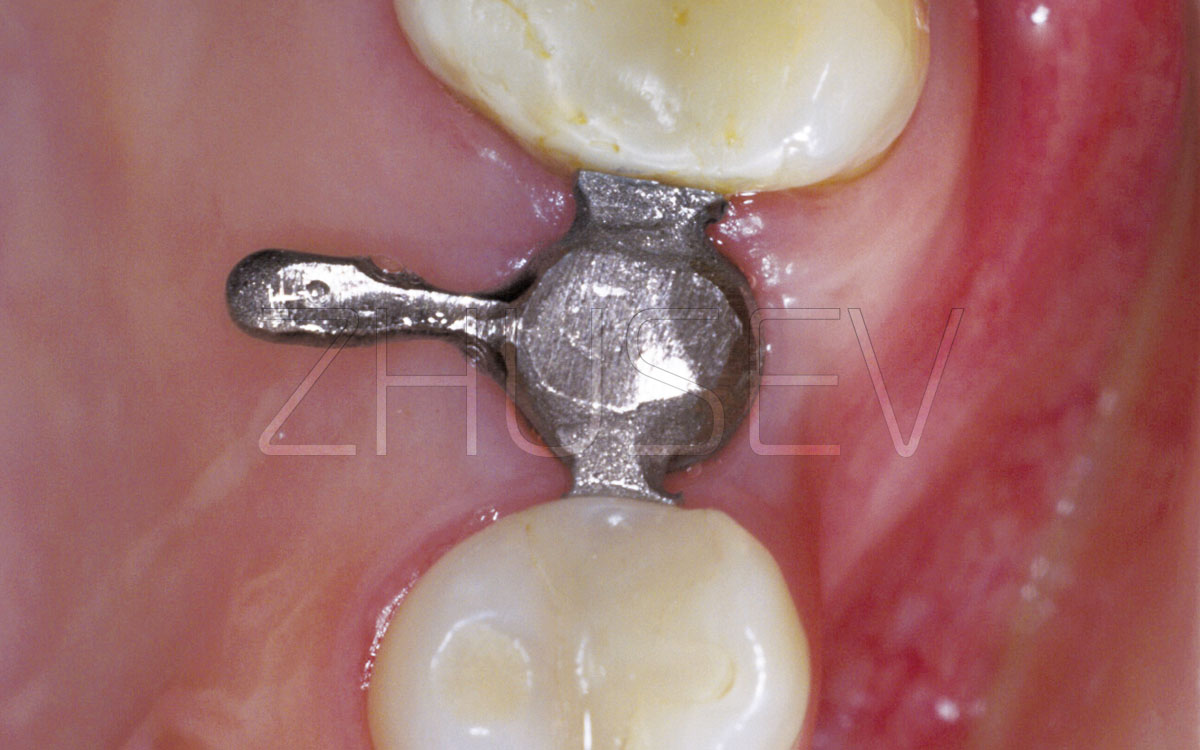
3.3-1C
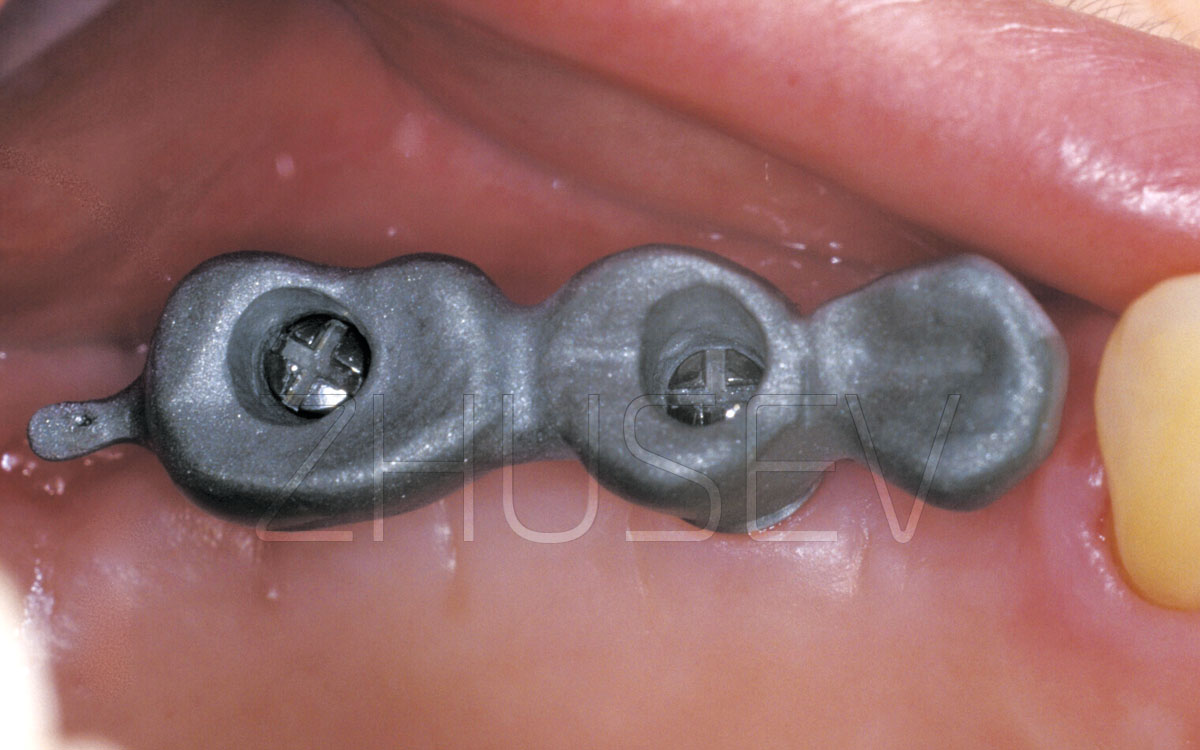
Observing these tips, you can reliably stabilize the cap and prevent it from rotating when chewing. In the palatinal projection, we can see a rotated pin, needed to apply ceramic material. After glazing, it should be cut off.
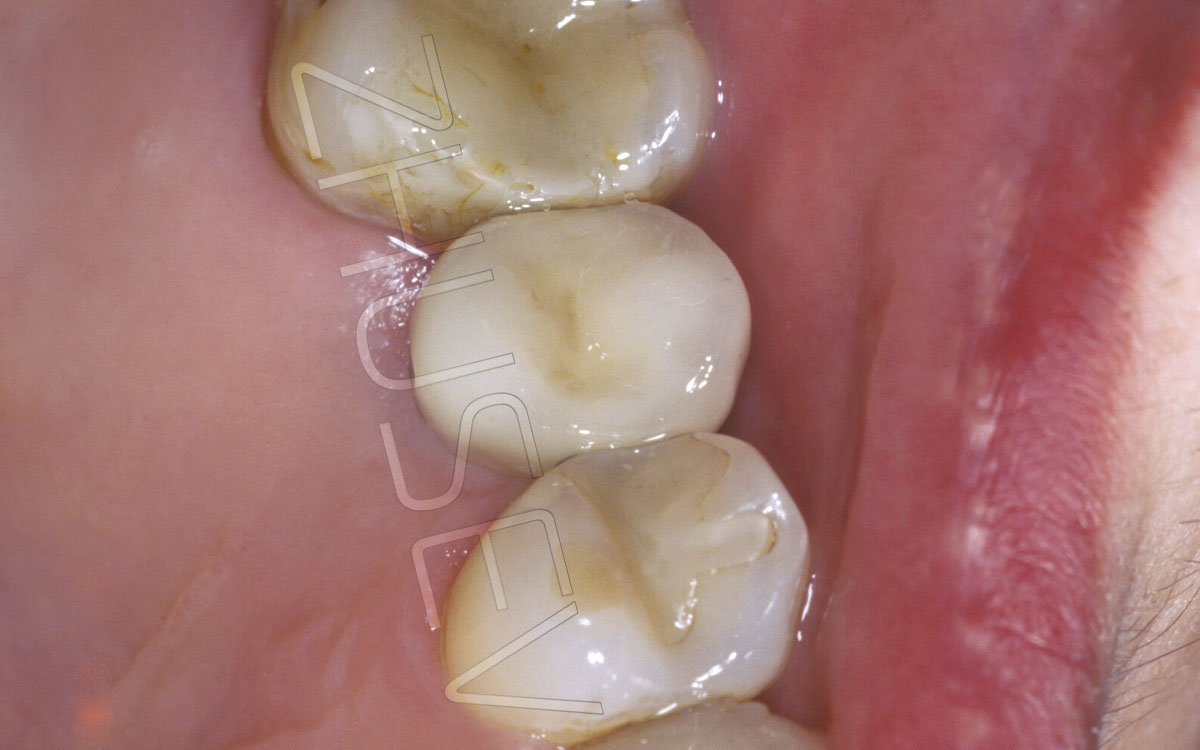
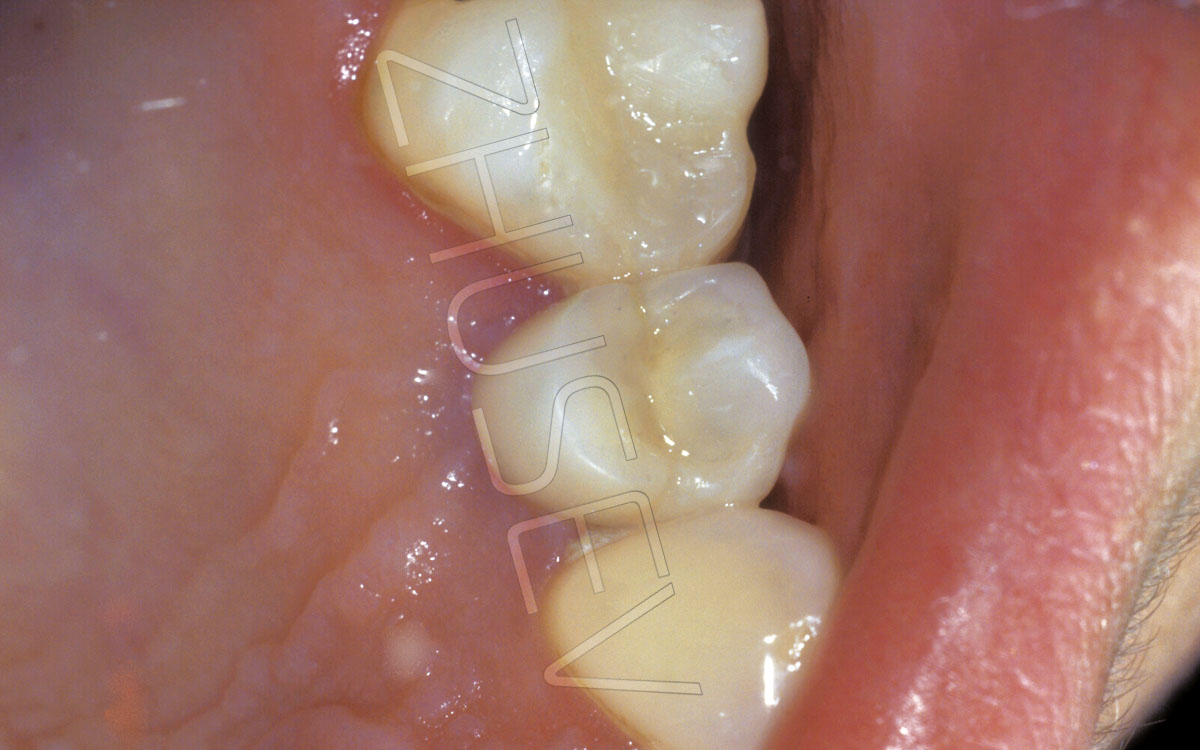
3.3-1D
View of a fixed crown from the occlusal surface. Rotative motions are completely excluded.
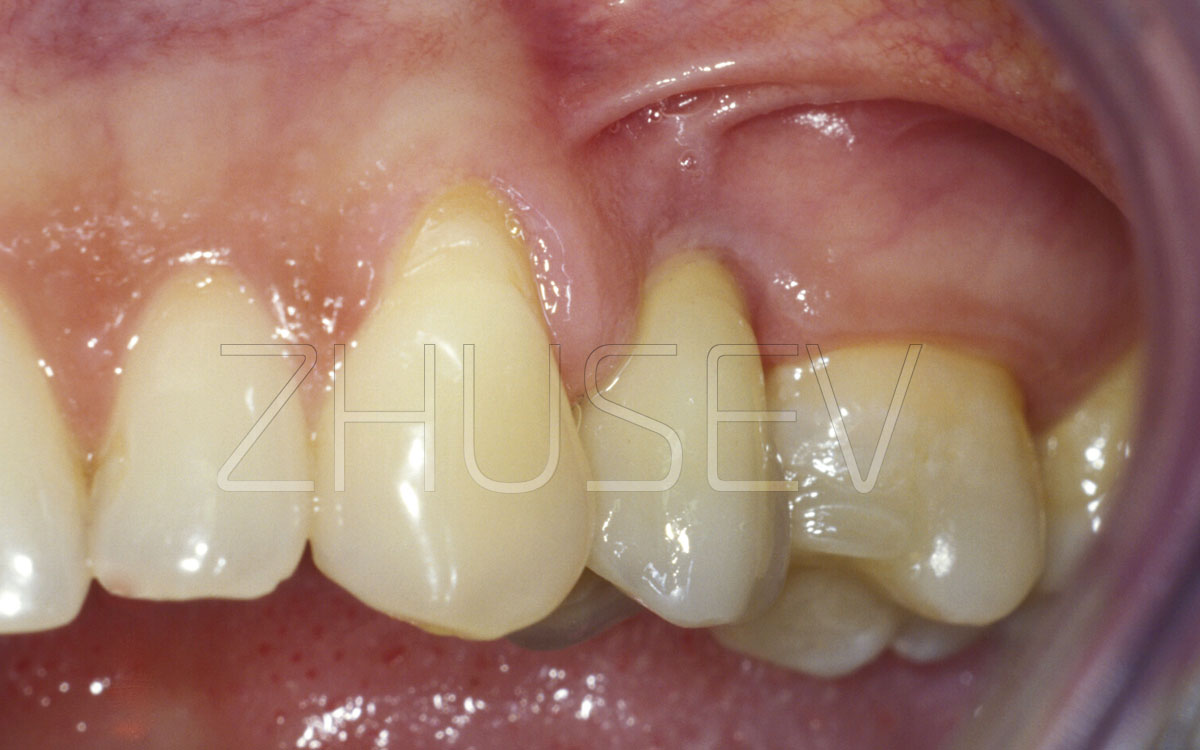
3.3-1E
Even at a thorough inspection the tips are not visible absolutely and cause no damage to entire esthetic integrity.
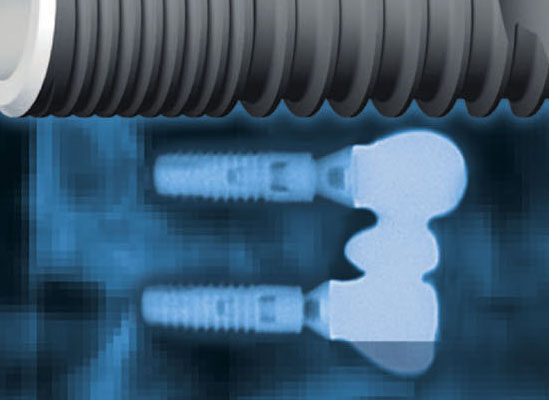
3.3-2
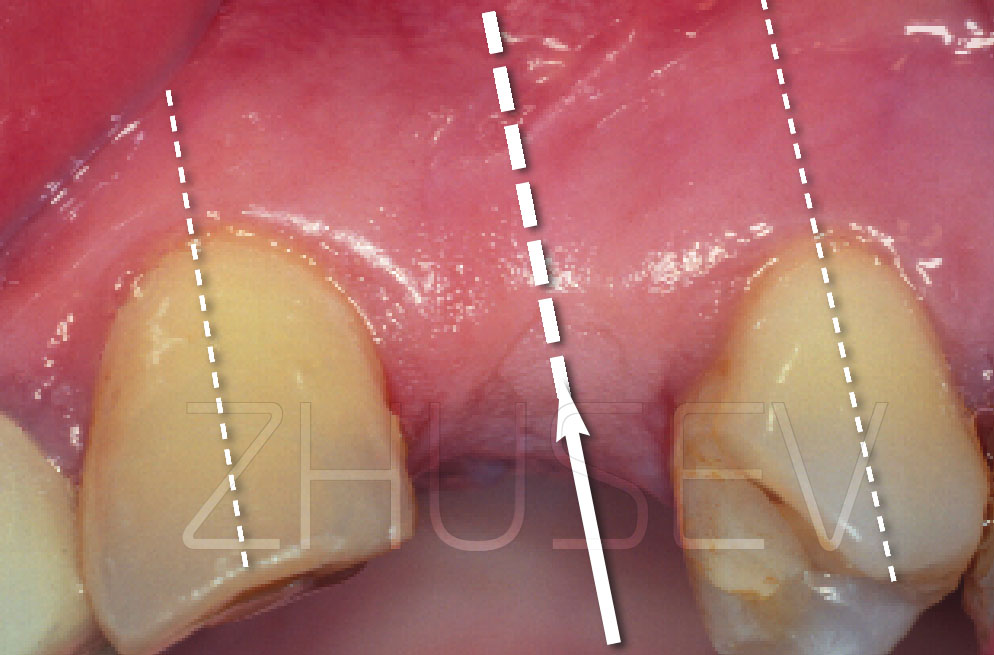
The anti-rotation elements should fit tightly to the adjacent teeth’ equators.
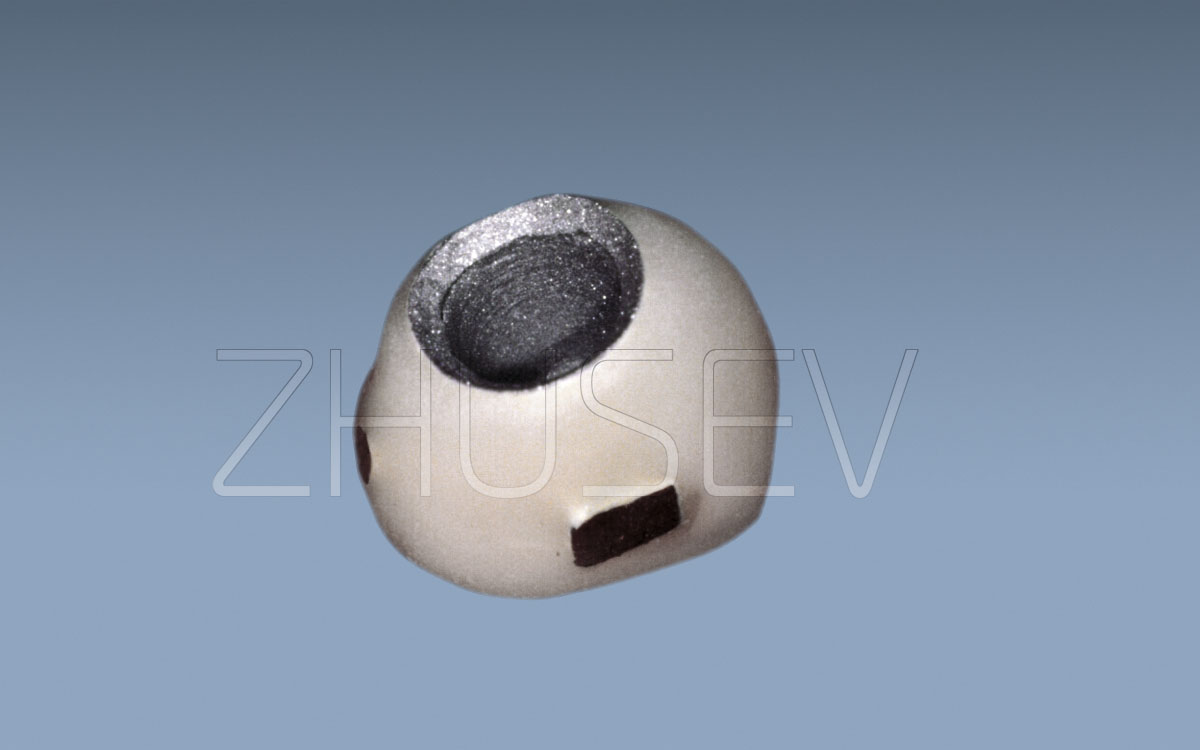
3.3-3
The size and location of the anti-rotation tips are selected individually, depending on specifications of the adjacent teeth equators.
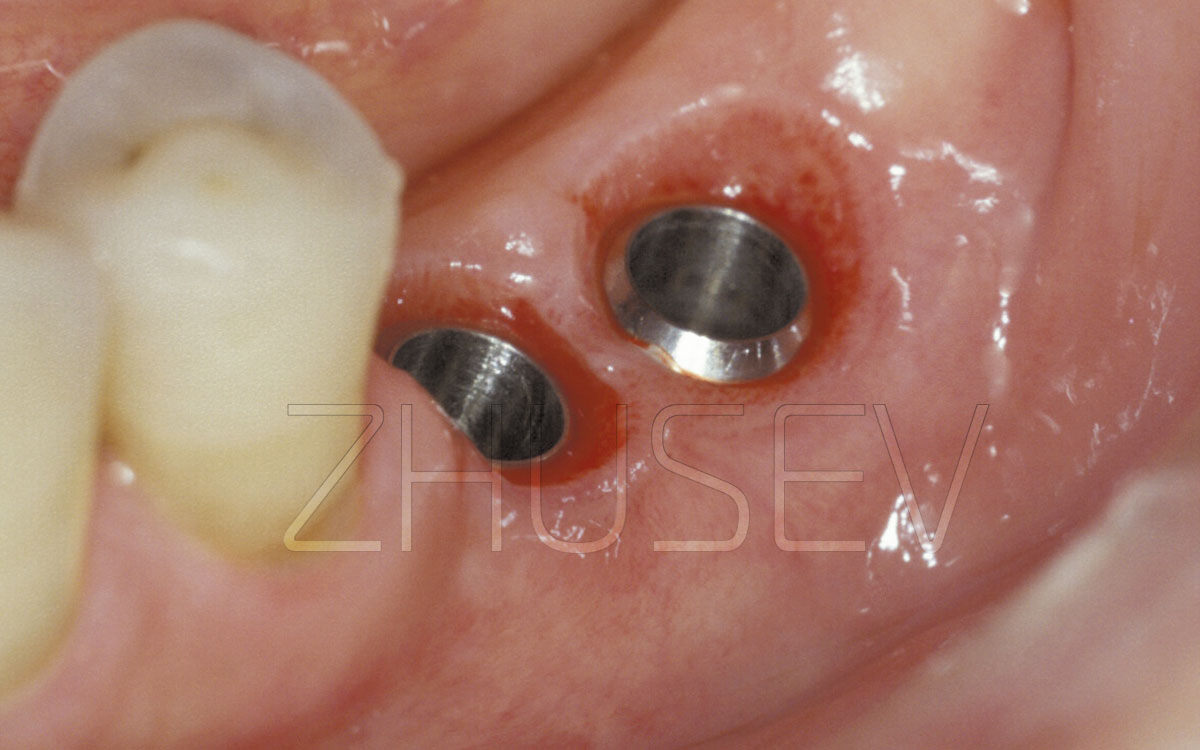
3.3-4A
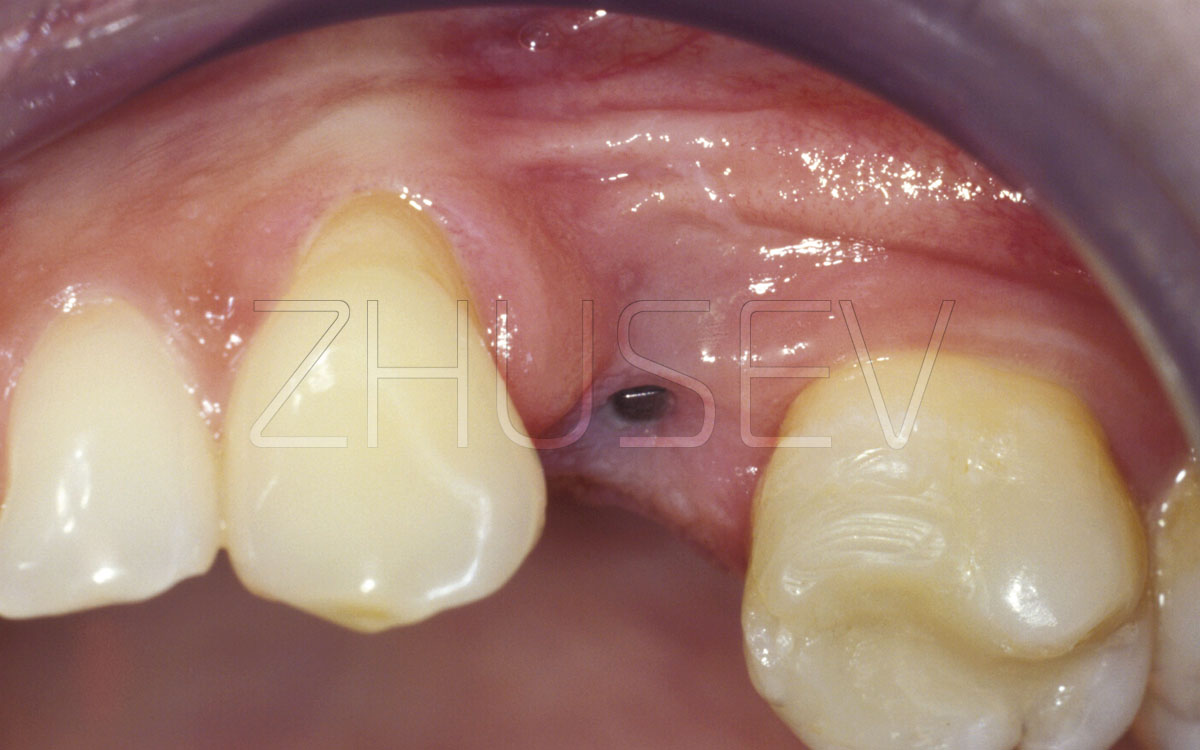
Partial cutting through of the cover screw is not considered to be a complication.
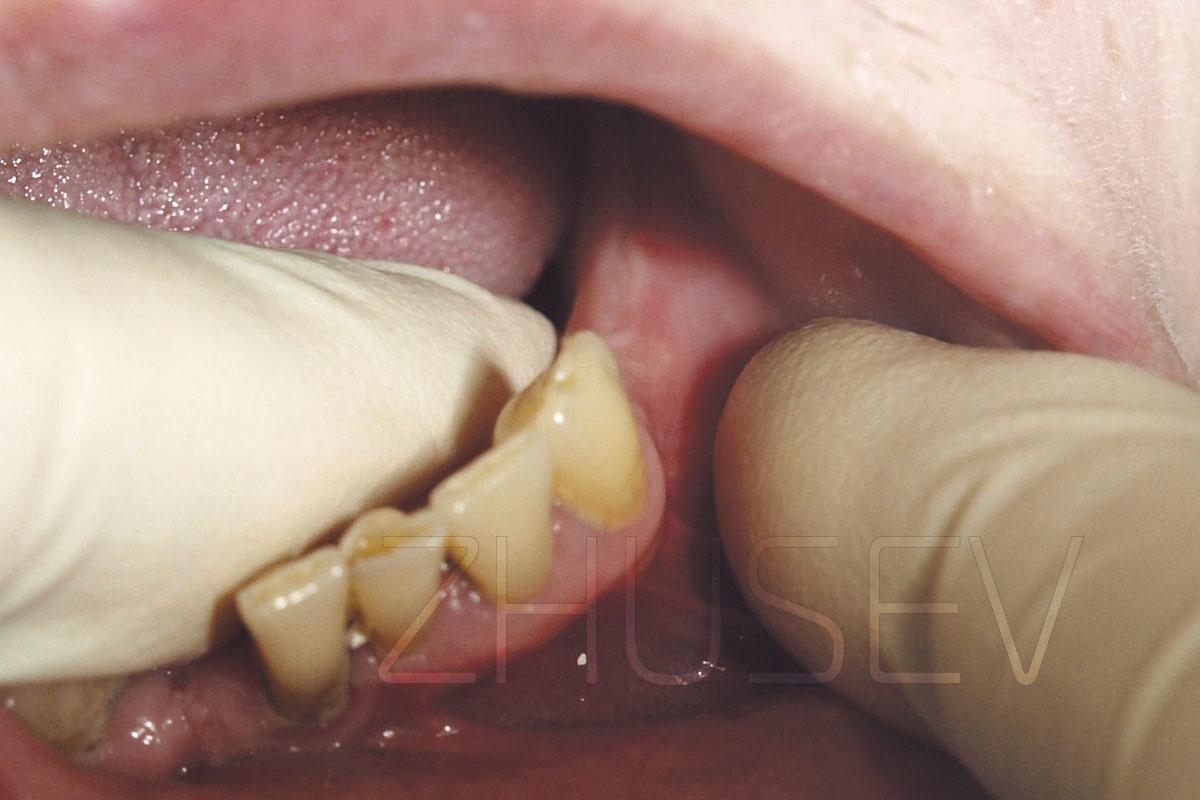
3.3-4B
Check the occlusal contacts and then fix the crown, placing it on cement.
3.3-4C
With the use of a dental explorer carefully check the crown’s edge to avoid pressing the remained pieces of cement into the gingival tissue.
3.3-4D
Carefully check the crown edges, to avoid pushing the remaining cement into the gingiva.