Experience has shown that you should start preparing the operating table and unpacking sterile surgical instruments only after the patient has come and given their final consent for surgery!
On the morning of surgical procedure, check whether your equipment (aspirator, physiodispenser, surgical light, etc.) is in good working order.
Applying ergonomics to your workplace will help you save time (you will not have to waste time on useless and meaningless movements) and will enable you to work longer without feeling exhausted. Believe me, an ergonomic workplace is a valuable asset, especially when you start performing long and complex surgical procedures.
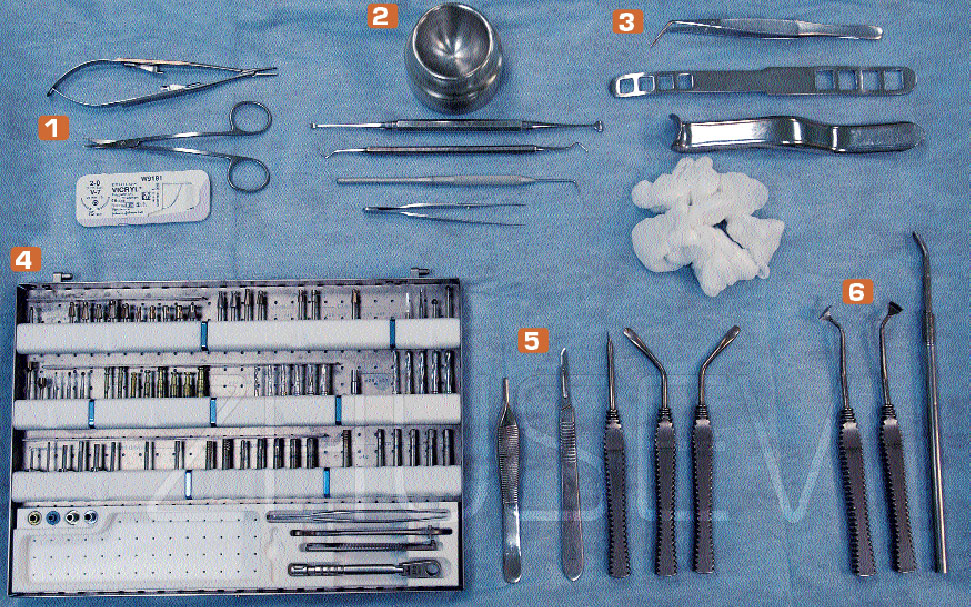
It goes without saying that you can organize your instrument table in different ways. Allow me to show you the way I’ve been accustomed to positioning my surgical instruments for many years and which is based on my experience 2.3-1.
Never purchase incomplete surgical kits meant for beginners, for they contain an insufficient assortment of surgical instruments and cannot satisfy all surgical needs.
Performing one of your first surgeries and being in the middle of inserting an implant, you may well need this or that extender or adapter from a complete surgical kit.
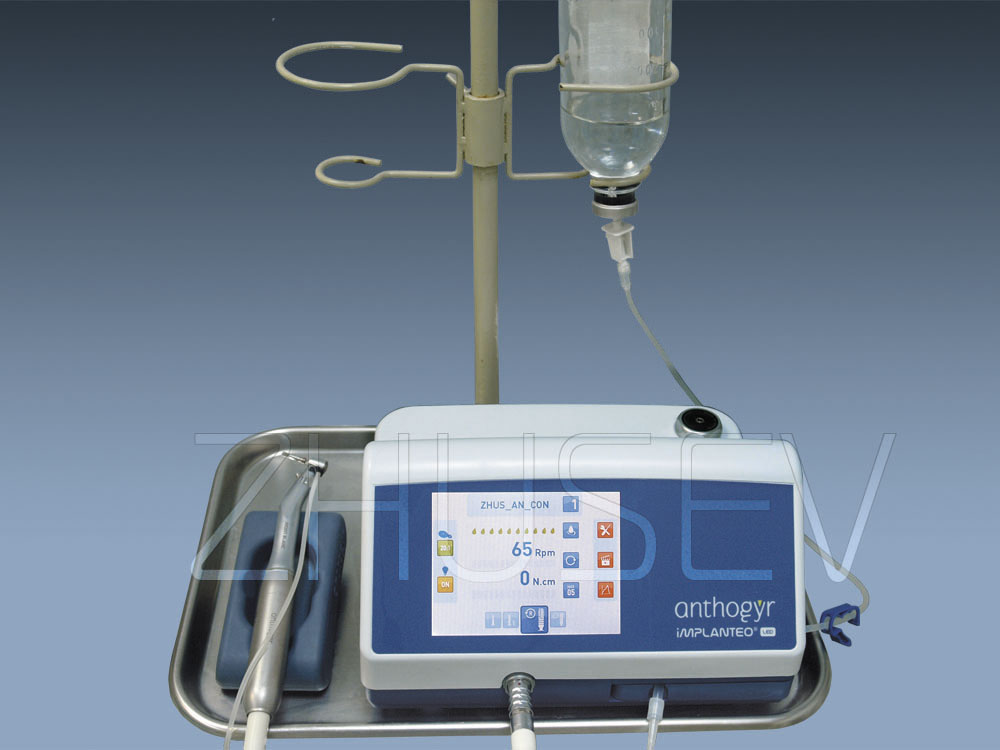
Once the operating table is ready, your assistant prepares the physiodispenser: they mount the sterile physiological solution on the support rod, insert the tubing into the peristaltic pump, unpack the micro engine from a sterile container, attach the handpiece to the tubing.
The operating room is prepared and you can position the patient in the dental chair. Cover the patient with a sterile drape and cover their head with a surgical cap. Disinfect their facial skin with an antiseptic solution.
Octenisept is an antiseptic effective to decontaminate facial skin prior to operation. It is a clear, colourless spray that causes no skin irritation. Remember to shield the patient’s eyes with your hand before applying the spray, for it contains alcohol.
You are ready to proceed with surgery.
THE PHYSIODISPENSER AND ITS HANDPIECES
Cool sterile physiological solution is used to cool cutting instruments (drills, burs, etc.) during surgery. I think it is obvious why the solution must be sterile. But why must it be physiological? Some years ago, dentists all over the world used to use disinfectant and antibiotic solutions to cool their cutting instrument.
Numerous research has revealed the outmost suitability of physiological solutions for surgical purposes. A physiological solution never leads to bone resorption or irritation. Now, why must it be cool? By cooling cutting instruments we protect bones from potential thermal trauma. Physiological solutions must be stored in a refrigerator and mounted on the support rod of the physiodispenser immediately prior to surgery.
Use your cutting instruments at a lower speed than in general dental practice. Lindemann burs are used at the highest speed of 1500 – 2000 rpm to allow direction refinement during the initial stages of drilling. Spherical dental drills, which are used for connective tissue removal in the surgical site, are also used at the speed of 1500 – 2000 rpm.
All other drills and burs are used at the speed of 400 – 800 rpm. The greater is the diameter of a bur, the lower its speed must be. In the beginning, bone drilling is performed using a Lindemann bur or a spherical dental drill at the speed of 1500 – 2000 rpm (you mustn’t try to make deep cuts, it is enough to perforate the cortical layer and to penetrate 3 – 5 mm of the spongy bone.

After that, use a drill, Ø 2 – 2.2 mm, at the speed of 700 – 800 rpm. Every time when you use a drill of a greater diameter, reduce the speed by 100 rpm. Remember that all cutting instruments tend to lose their effectiveness in the process of work, which leads to an increase in friction and bone tissue is exposed to heat. Therefore, all burs, drills, trepans, etc. must be replaced at a regular basis (burs for bone drilling must be replaced after every 40 – 60 implant insertions).
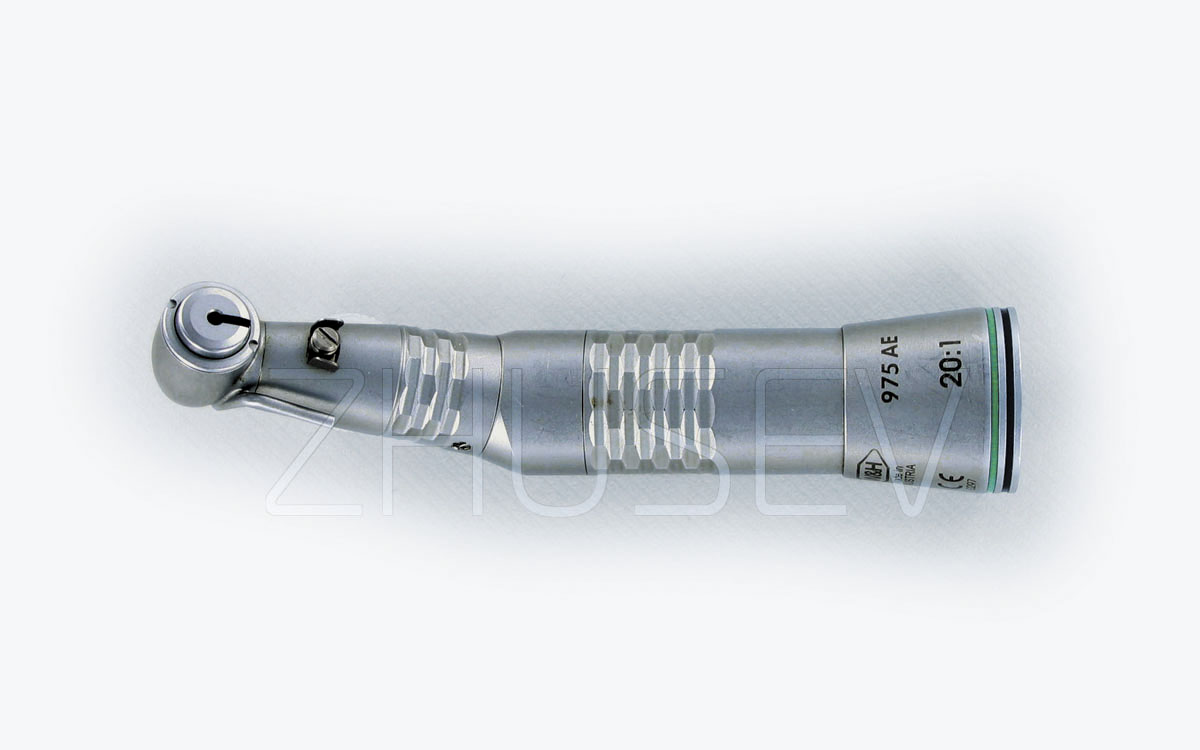
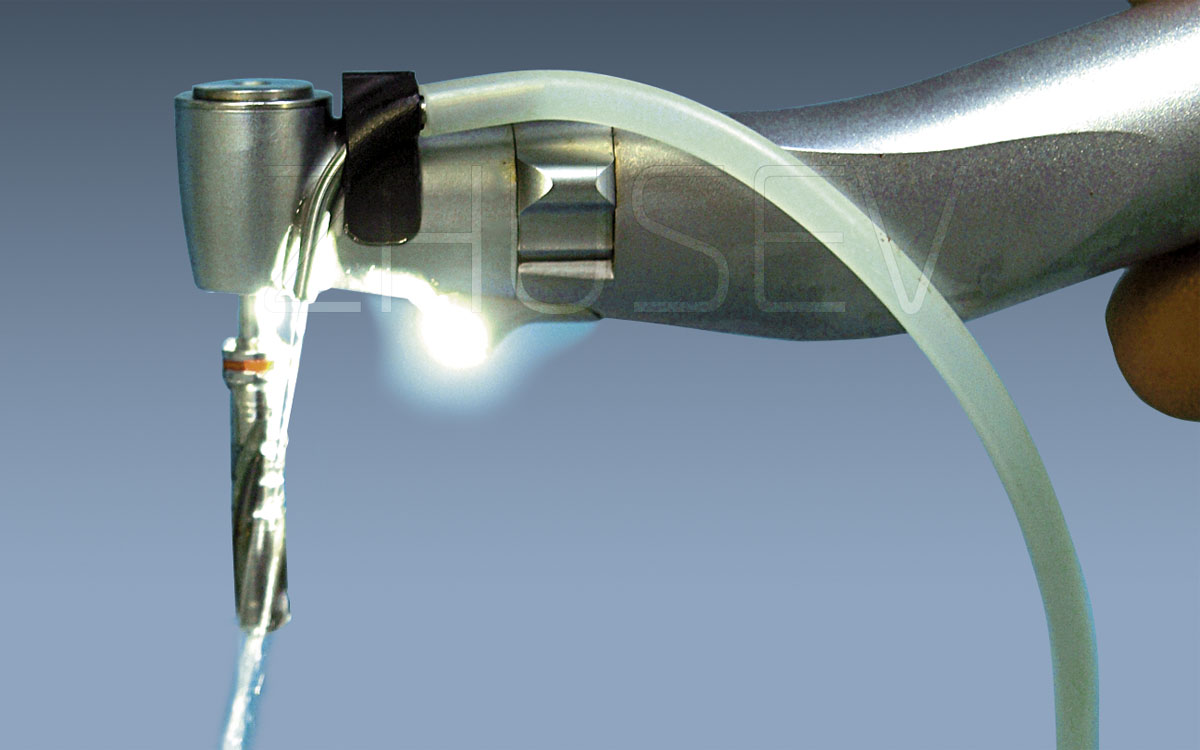
To ensure low rotation speed of powerful drills, it is customary to use speed-reducing handpieces. Universal handpieces have the reduction of 16:1 and 20:1 2.3-7.
We have already discussed that for cooling purposes it is essential to use physiological solutions. It should be remembered that even insignificant quantities salt in physiological solutions cause wear and corrosion of handpieces. Hence, it is highly advisable that you should use surgical handpieces made of corrosion resistant alloys. Moreover, it is essential that you should clean and lubricate them after every surgical procedure using the Assistina handpiece maintenance system, or alike.
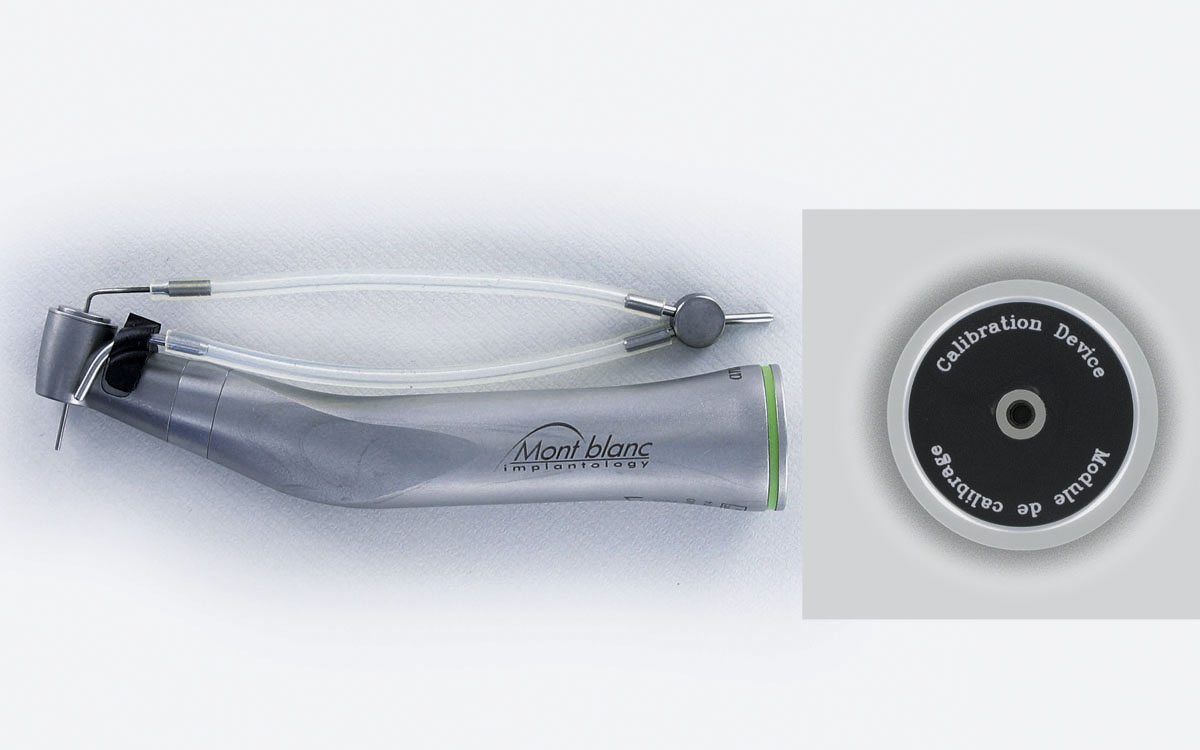
Specialized surgical handpieces can be used with external coolant tubes for the Krischner internal cooing system 2.3-8 (for internal bur cooling). The optimal solution is to use both external and internal cooling systems.
In implantology, external cooling is often applied to interrupted cutting. Internal cooling must never be used alone.
Using a physiodispenser, you can usually regulate physiological solution flow rate. You must never use it! Always work at a maximum solution flow rate!
Do not be afraid of wasting physiological solution! It is much cheaper than an implant, which may be lost due to thermal trauma of bone tissue and subsequent implant rejection. Spare the physiological solution and lose the client!