The sinus floor elevation procedure (or sinus lifting) demands that the practitioner should have good manual skills, a highly developed feeling of the tissue structure under the applied tools, and good knowledge of different variants of the topographic anatomy of this area.
Whatever the temptations are to start earlier (after 30-50 successful implantations you may began feeling that now everything is clear and easy in dental implantology), I strongly recommend to go on to performing sinus lift surgery only after you have installed 150-250 implants. Of course, the specific number of the installed implants is not really the point. Just in order to perform surgeries in the maxillary sinus, your hands and fingers need special sensitivity. And this cannot appear at once!
Besides, I strongly recommend that you would refer the patient who is going to be operated on in the sinus, to visit an otolaryngologist for consultation. A very important condition for favourable post-operative treatment includes good natural drainage of the maxillary sinus through the fistula in the nasal cavity. It is this fistula that a practitioner should examine. And if he finds that its lumen is not wide enough, it is desirable to widen it.
When the sinus lift surgery is performed, one of the most common complications is a perforation hole and a torn sinus membrane. Being flexible and pliant enough, it nevertheless can be torn with the slightest over-tension at the most unexpected moment, when it may seem that the surgery actually is successfully over.
In case of a torn membrane, immediately stop working and carefully examine the membrane residuals inside the sinus. If the membrane is elastic enough, try to perform its separation inside the sinus 1-2 cm in a circumferential direction from the perforation locations, and then insert a resorbable membrane. If this is impossible, the bone window fragment that is hanging on a piece of the sinus membrane, should be removed! It will never grow back by itself.
After this, it is desirable to close the entire formed bone window with a resorbable collagen membrane (still better with a double-layered one, because it will take more time to resorb), with wider covering area. Then we should suture the wound as carefully as possible.
I strongly recommend not to check the finished work quality with the use of so-called finger-nose test (when the patient’s nose is held with fingers and the patient should blow through it with an effort). The overpressure in the sinus may only cause damage, destroying the forming blood clots, and can tear the collagen membrane off from the bone. Also the air bulbs that appear in this process between a mucoperiosteal flap and the periosteum don’t make the healing process any faster, either. Unfortunately, in spite of the high level of regenerative ability of the sinus membrane, a surgical reintervention a few years later can be ineffective.
It is necessary to prescribe antibiotics and antihistaminic drugs, and also to provide recommendations, that were mentioned in the chapter «Sinus lift».
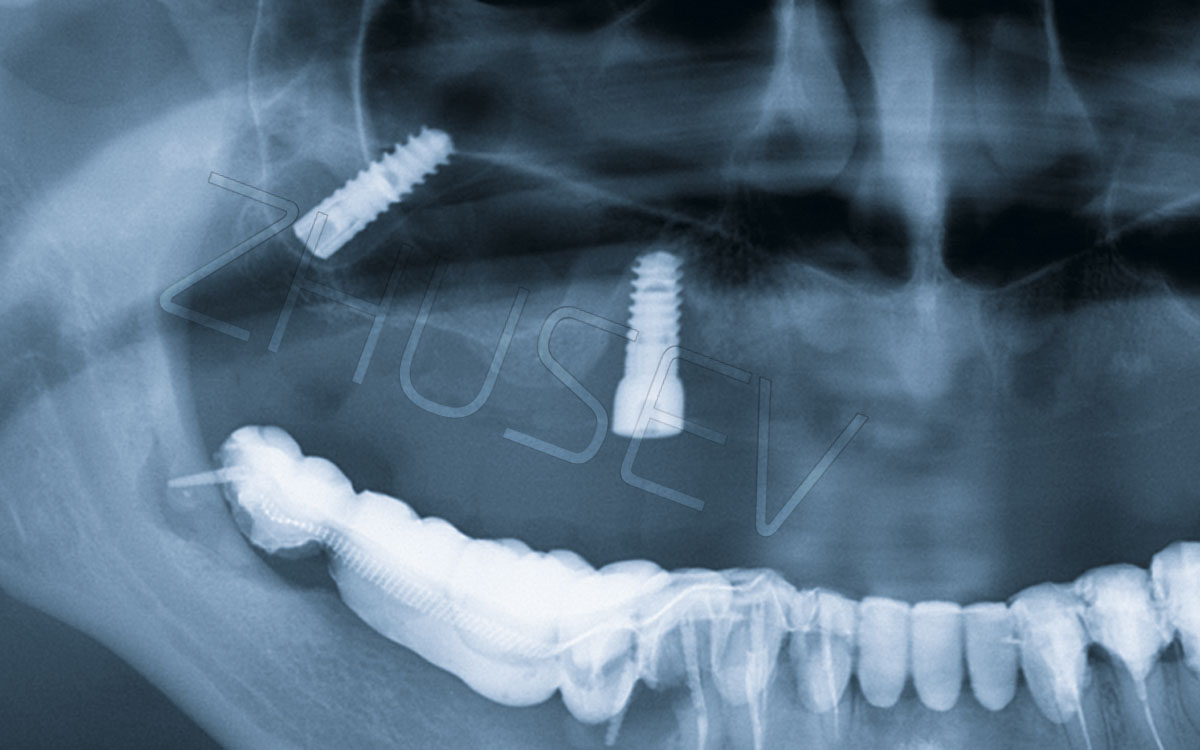
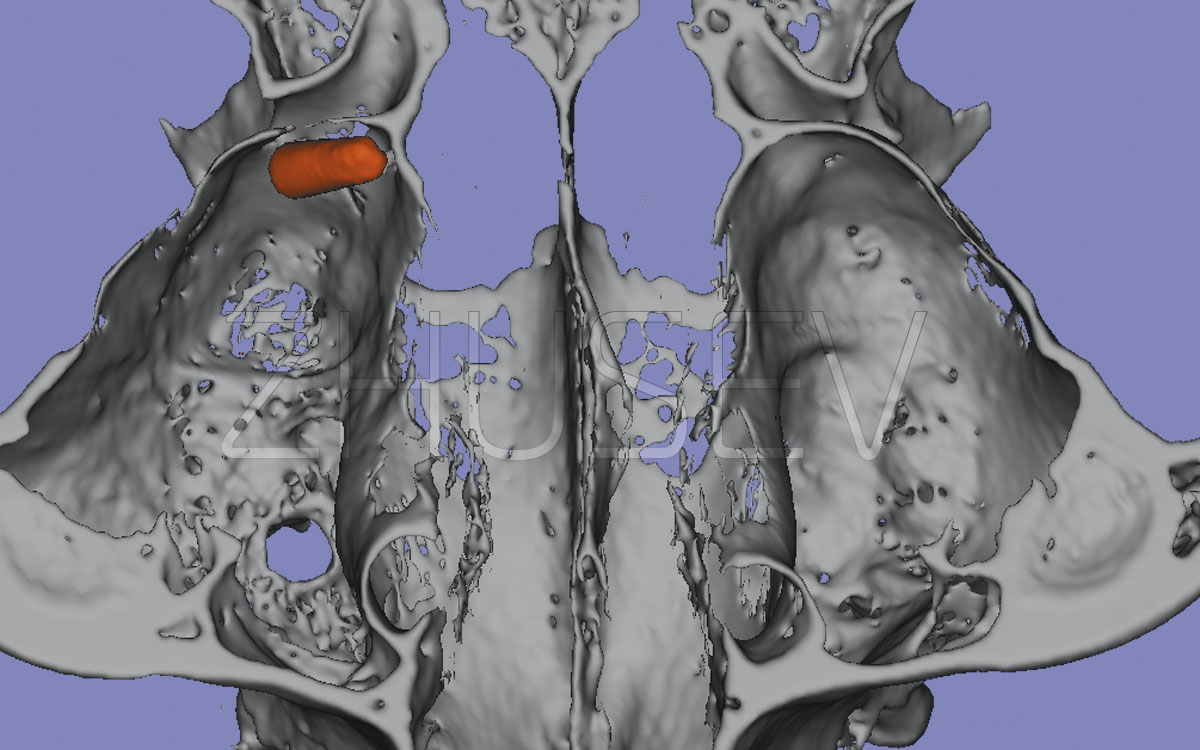
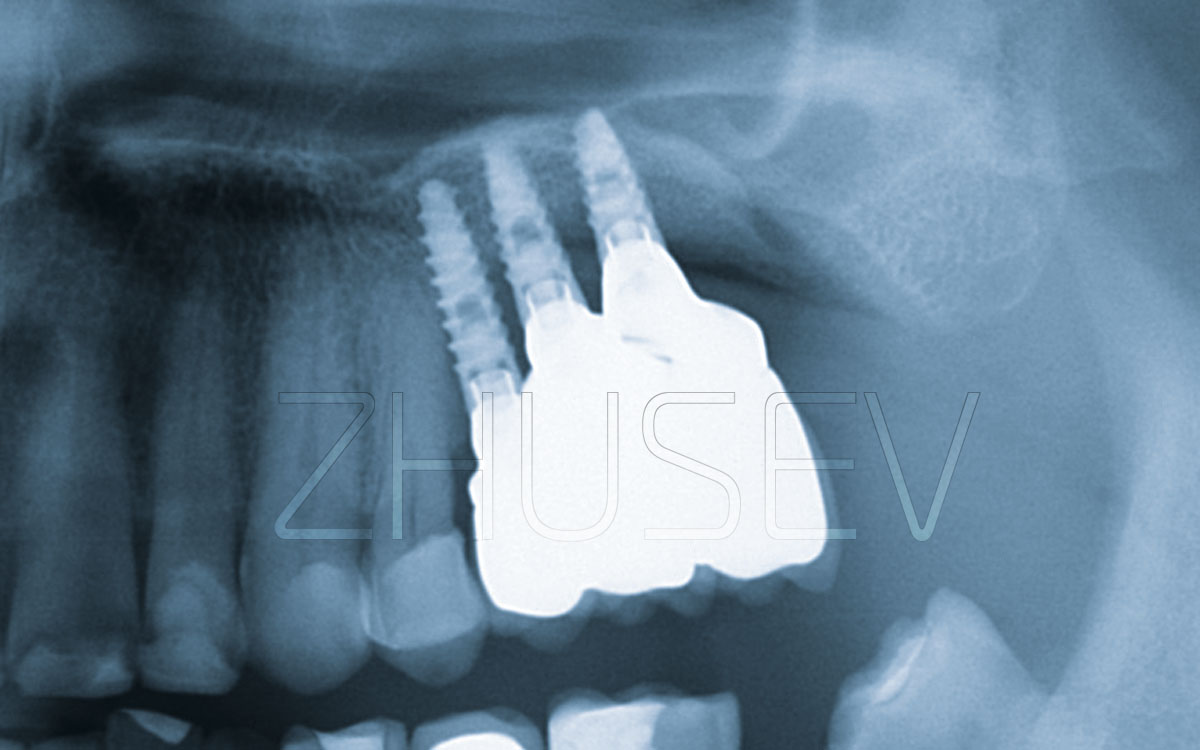
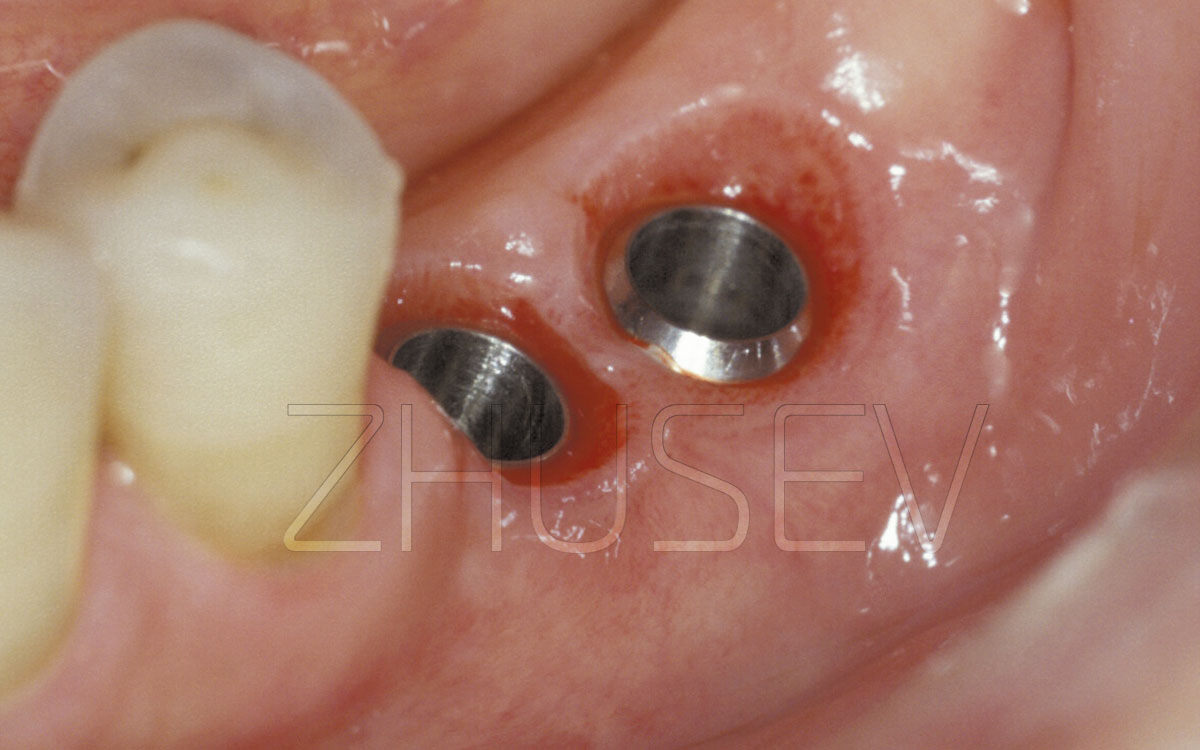
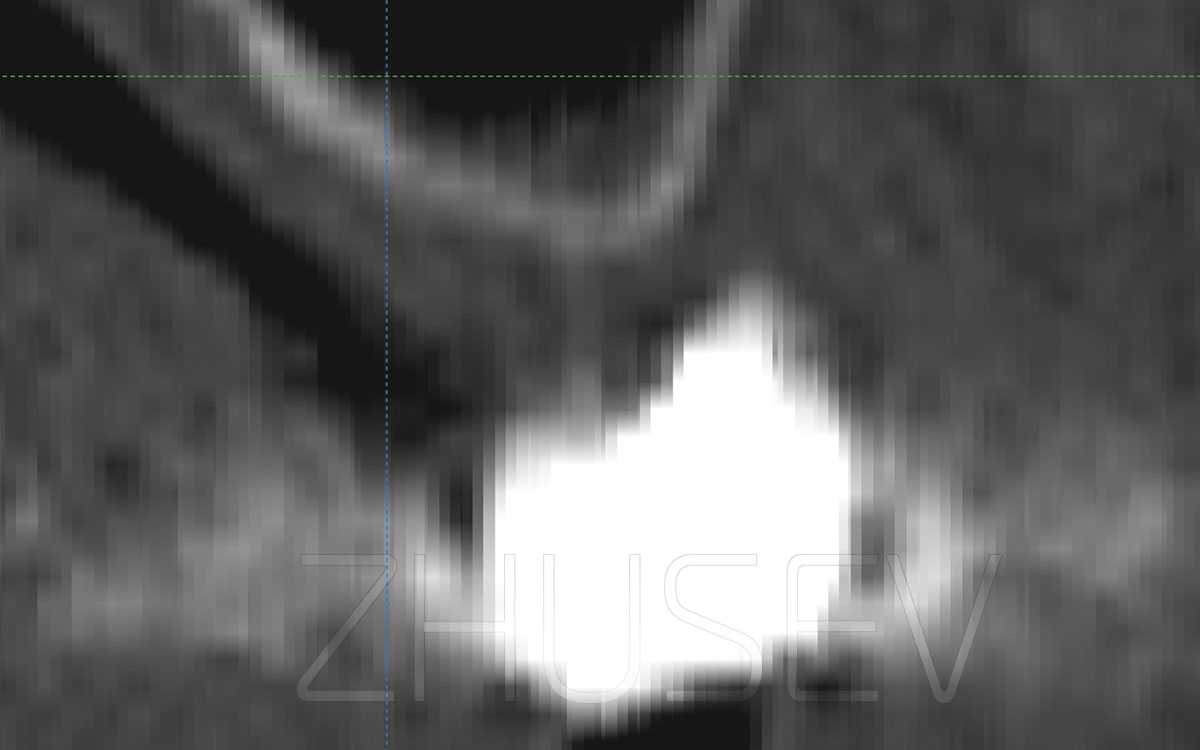
Cases are reported, where the implant is pushed into the maxillary sinus cavity. This may occur both during the surgery and in the process of the healing cap installation.
If the effort to localize the implant position via the wound entry hole and to pull it out with the use of a hemostatic clamp failed, it is necessary to suture the wound hermetically and to prescribe antibiotics. Then you should refer the patient to a otolaryngologist who works with a fibre-optic sinusscope, for consultation. He can try to extract the implant via the natural fistula in the nasal cavity by slightly widening it. If it turns out to be impossible, then extensive surgery has to be applied up to the Caldwell-Luc operation.
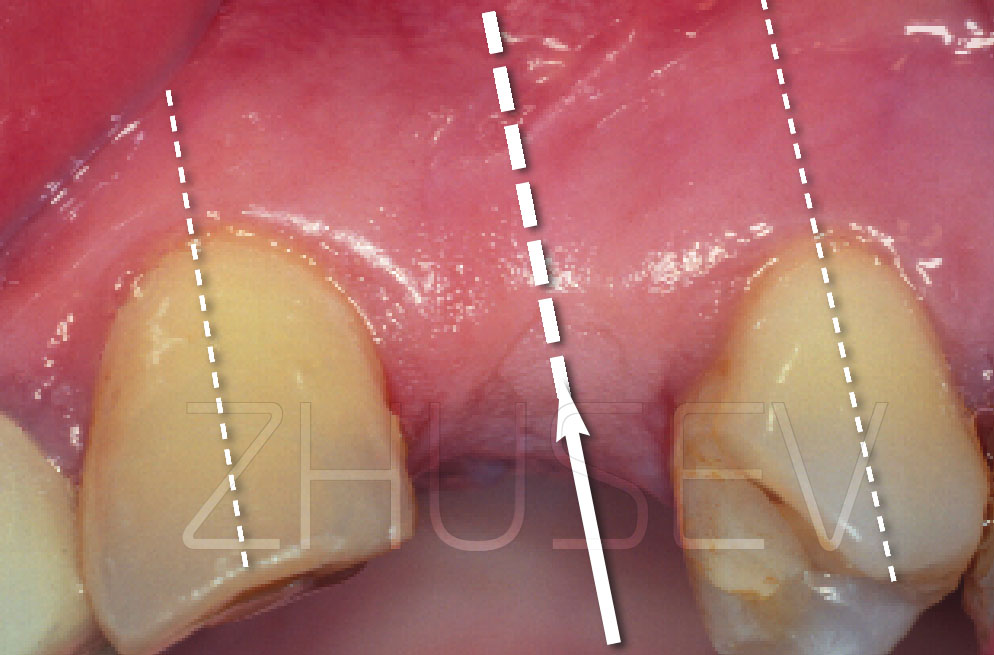
Also occasionally a situation arises, when the sinus lift surgery is performed without any slightest complications, but the volume of the bone material that has regenerated during a few months is evidently not enough for the implant installation. The human body always takes «the angel’s share» in the form of a certain volume of the material that is used during the sinus lift.
The problem is that it is simply impossible to determine right how much more bone material should be put into during the surgery, that in 4-6 months it will remain in sufficient quantity! At times, the reported data, which recommends using 10-30% more material than it is necessary, turn out to be very approximate. Even a 50% decrease cannot serve as a guarantee!
I had to deal many cases, when the more than sufficient material volume, inserted into the sinus, in the process of structural adjustments not only decreased, but also spread under the sinus membrane and filled places, where the surgery had not been even performed! However, the covering area had increased, and the general height in the desired place decreased.
Probably, during nasal breathing the air pressure is applied to the sinus membrane and it begins working like a pump plunger, pushing the subjacent material in all directions immediately under the sinus membrane.
What should be done in this case?
During the implant installation, the implant’s bed should be formed with the use of osteotomes. In fact, you perform a repeated mild sinus lift surgery. Only this tomia should be performed very carefully, so as not to break the bone which has formed after the initial surgery. Consequently, the waiting time after the implantation should be increased, too.