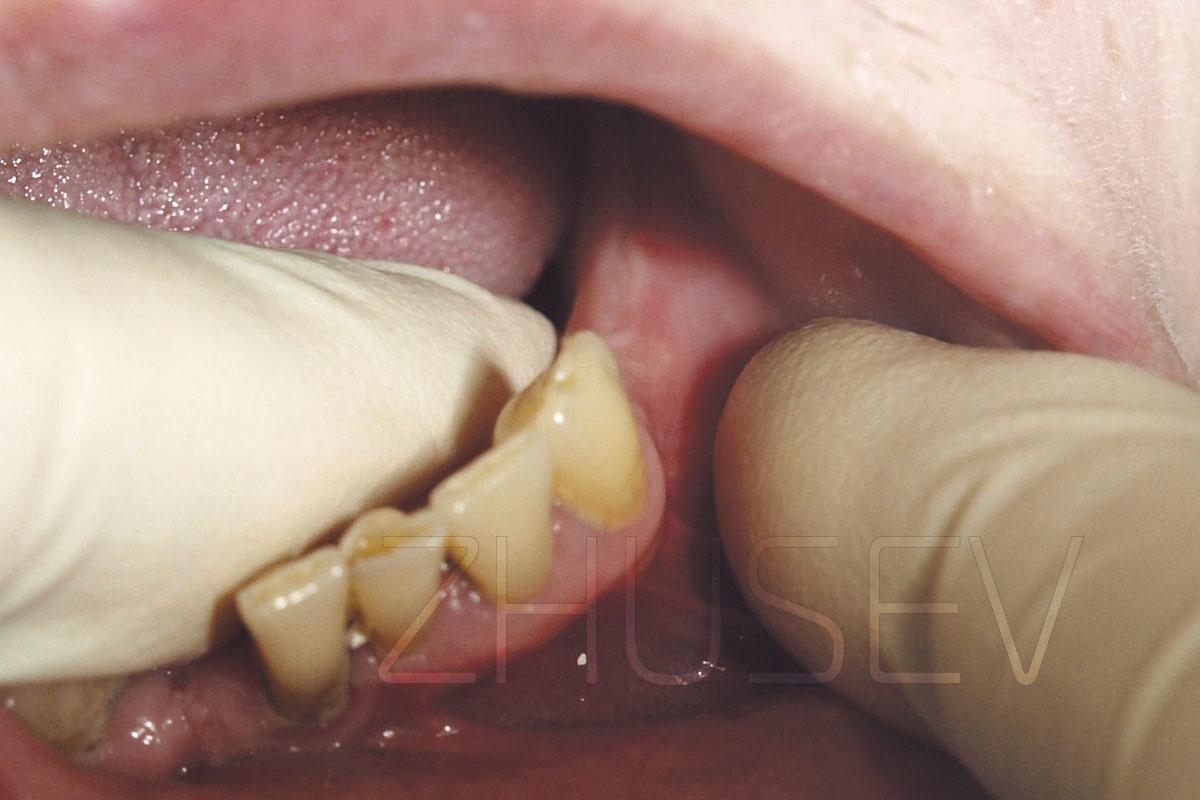
One of the major aspects of the surgery is spatial orientation in the wound and anatomical-topographical relations. Evaluating the situation in the mouth cavity before the surgery, we plan our future actions depending on the shape and relief of the soft tissue. But as soon as we lift mucoperiosteal flaps, we see absolutely different volume and topography. At this point, it is very easy to deviate from the previously made plan, or even lose your way in the wound and fail to observe the distances and angles defined before the surgery. This can result in a number of common problems – injury to the teeth adjoining the surgery site, perforation of the alveolar bone walls or sinuses.
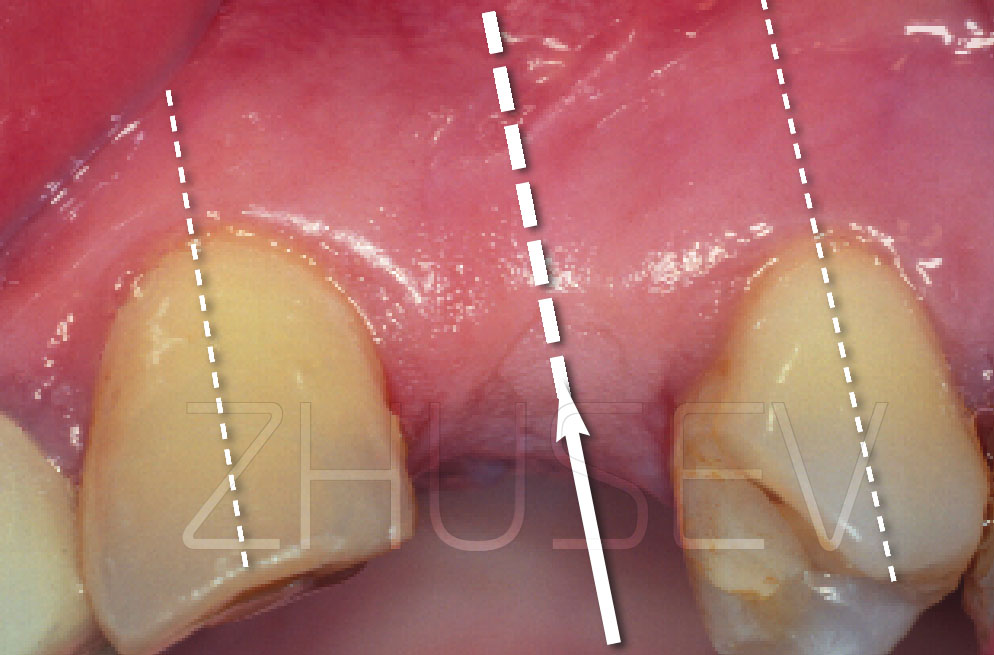
most difficult thing is to calculate the angulation of the implant to the adjoining teeth, especially when implants are inserted at the site of missing first premolars near existing canine teeth.
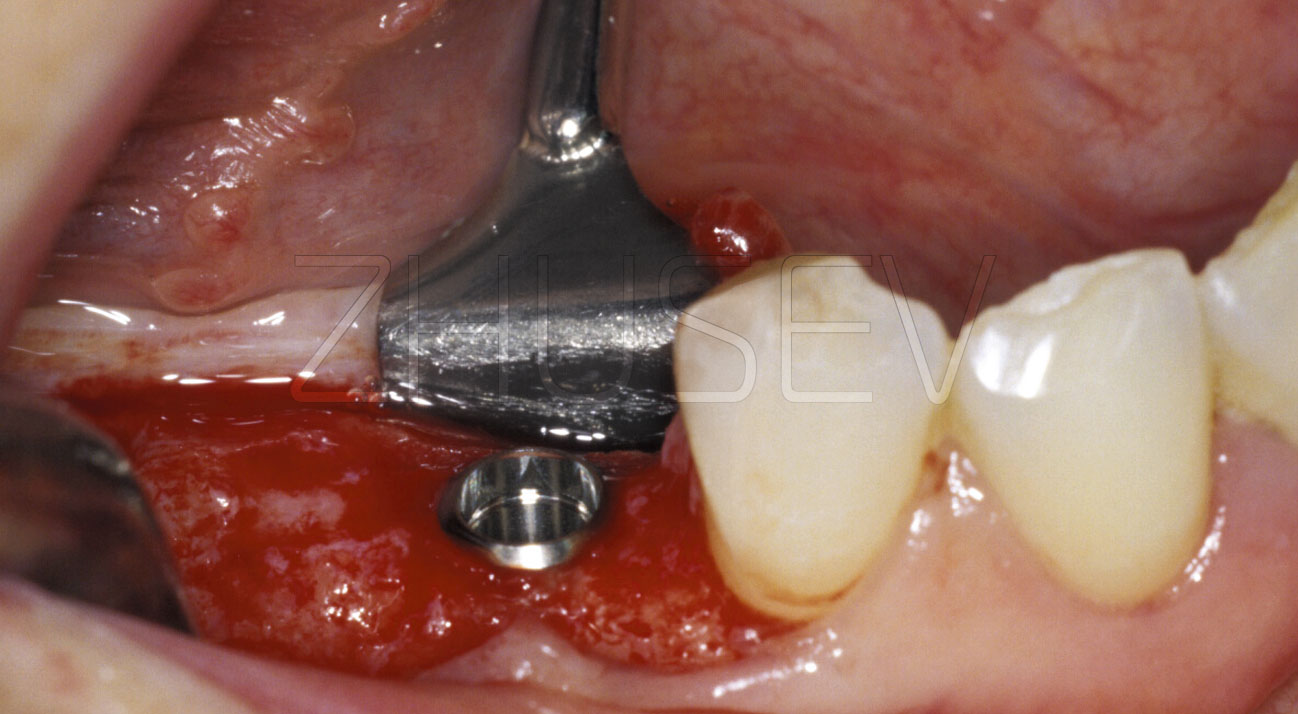
The first thing to do after lifting the flaps is to calculate the distance from the distal surface of the canine tooth to the centre point of bone preparation. The best and easiest way is to make the distance from the tooth equal to the diameter of the installed implant. To do this, you need to have a sterilisable sliding caliper in your surgery kit. If you don’t have it, just put a depth gauge of the necessary diameter to the tooth. Orientate by the crown of the tooth. In your mind, make a straight line through the middle of the cutting edge to the middle of the tooth neck. Parallel to this line, set the angulation of the drill 2.5-1B.
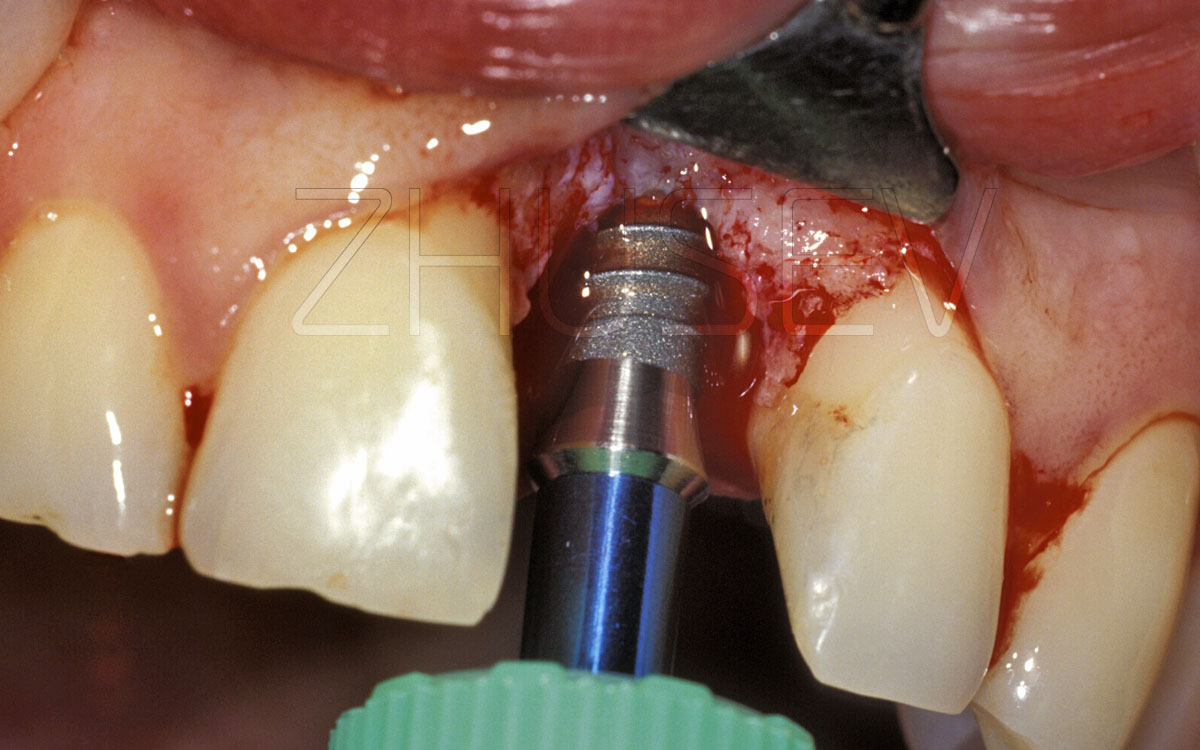
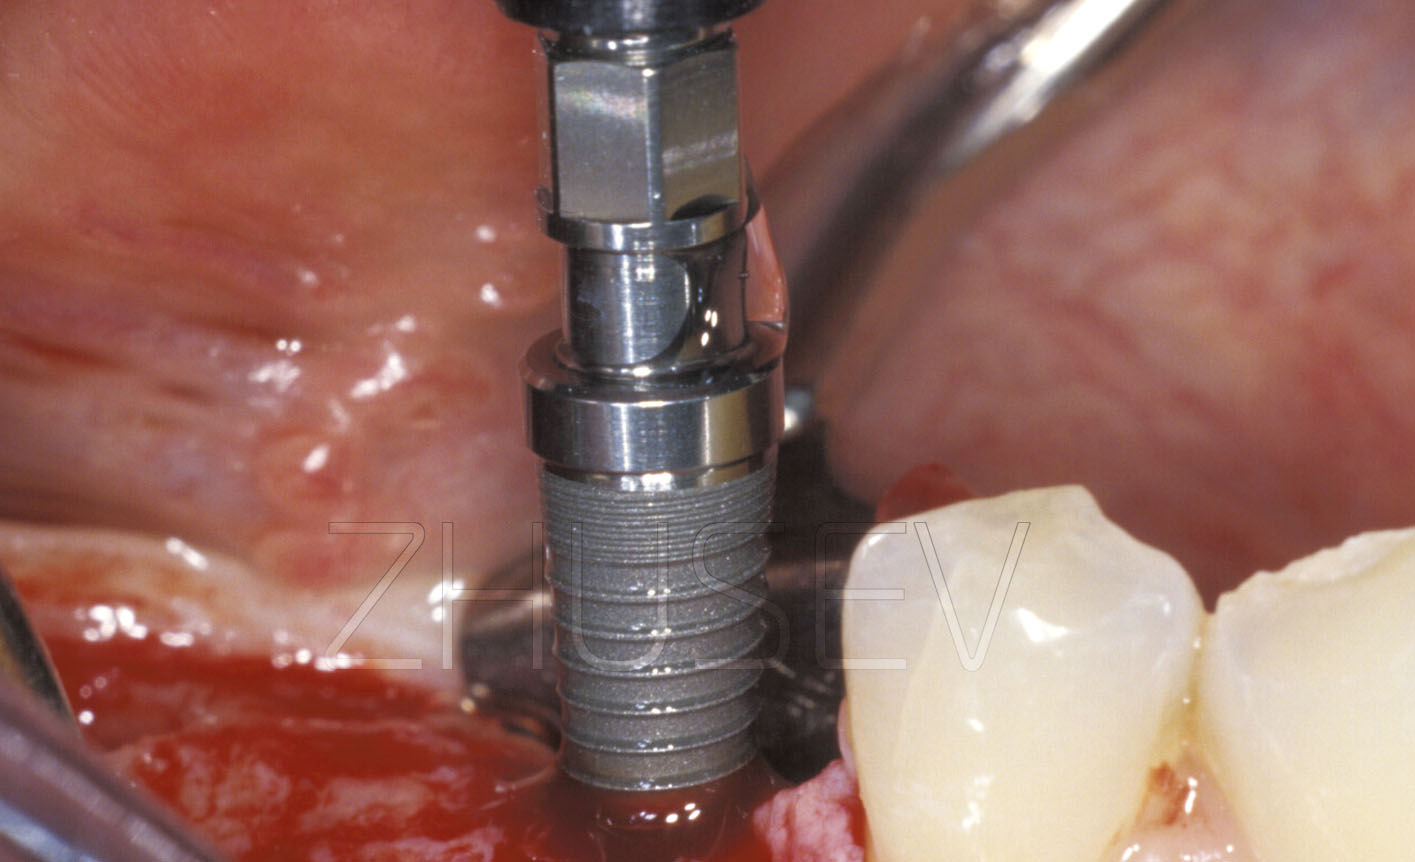
Never try to drill to the full depth immediately. Perforate the bone 4-5 mm deep, put the thinnest depth gauge into the hole and try to imagine where the drill will be if you drill the bone as deep as the length of the chosen implant. Remember that the diameter of the hole will increase with each drill. Ask the patient to turn his/her head to each side and look at the angulation of the depth gauge not only with regard to the adjoining teeth but buccolingually. If you have discovered that the angulation is to be changed, do it at once and not when you’ve made a hole of the necessary depth and maximum diameter. Withdraw the drill from the bone almost completely, change the angulation and go on drilling through the same entry hole you’ve just made.


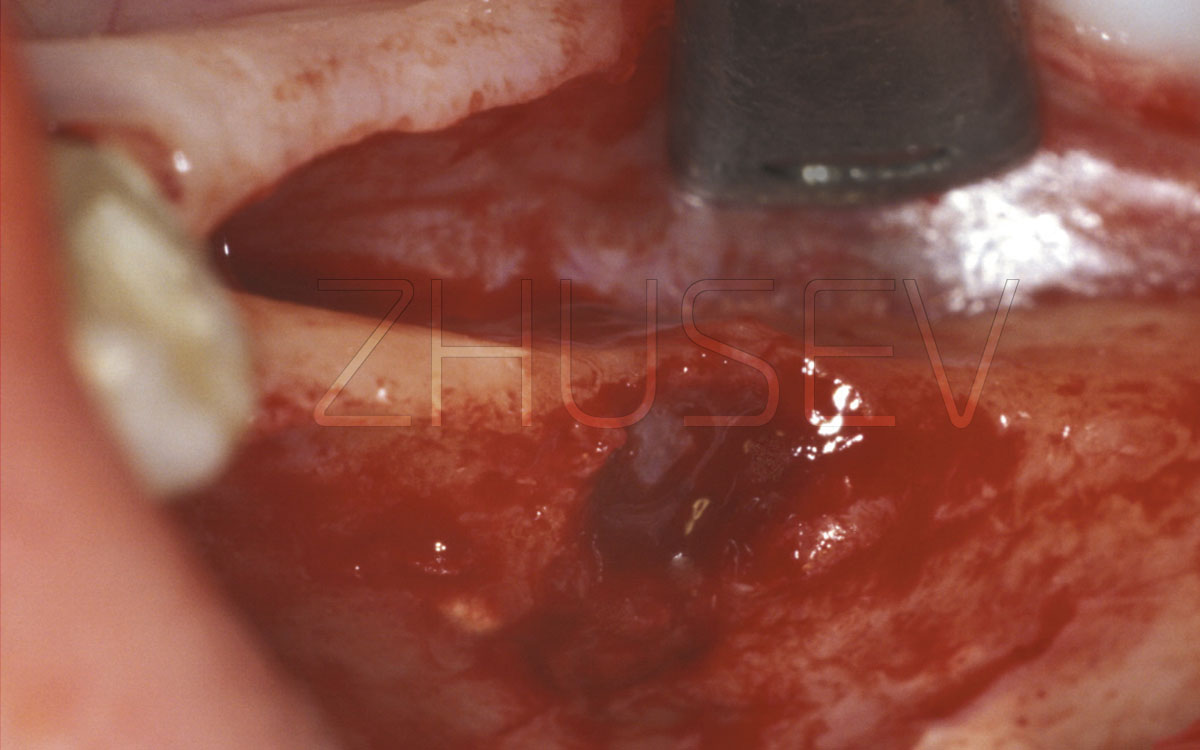
Probably the main problems during implant site preparation result from violation of the intermittent preparation technique, insufficient irrigation, using blunt drills, and excessive pressure on the instrument. Each of these factors or a combination of them lead to critical local overheating of bone tissue, its necrosis and, as a result, the loss of the implant.
During intermittent preparation make sure that the axis of the drill is the same each time it enters the bone. Each time the drill must enter the drilling hole in the bone with perfect precision!
Otherwise, the entry hole will be destroyed and get an irregular – oval – shape and the size exceeding the diameter of the drill, thus decreasing implant stretching and primary implant stability.
Also, remember to keep the drill rotating when entering and extracting it from the bone during preparation! You mustn’t stop the drill when it is deep in the bone and then just pull it out.
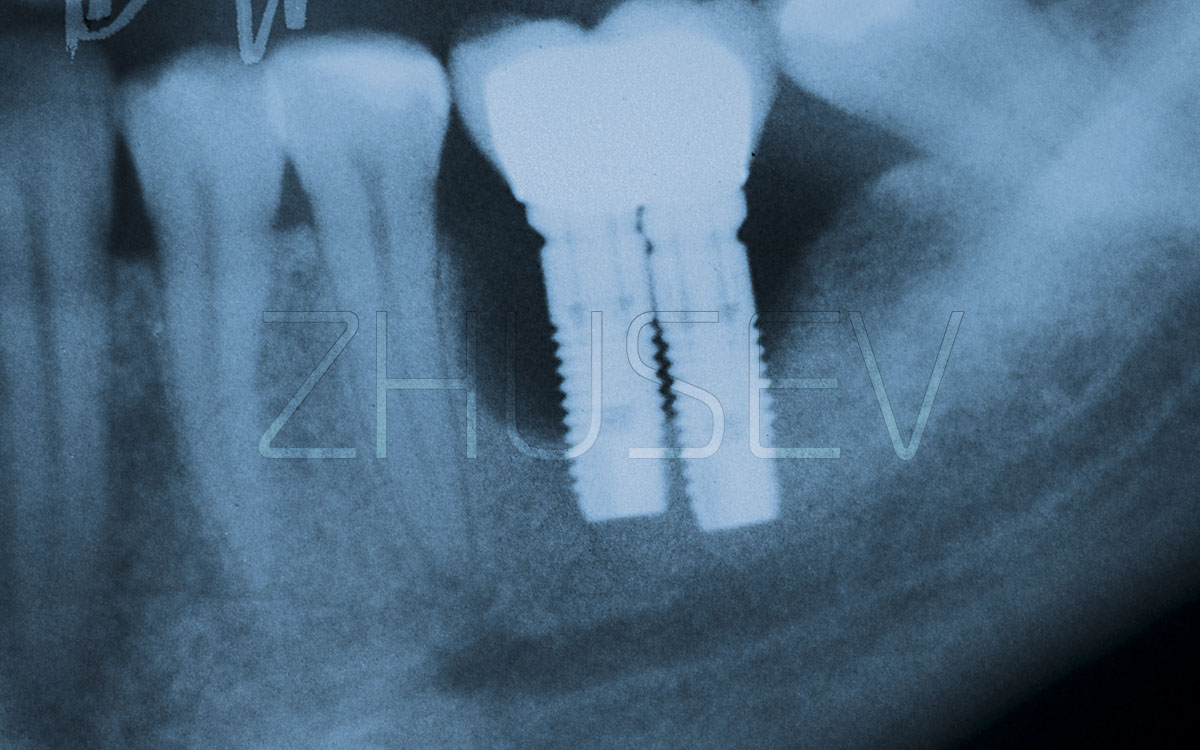
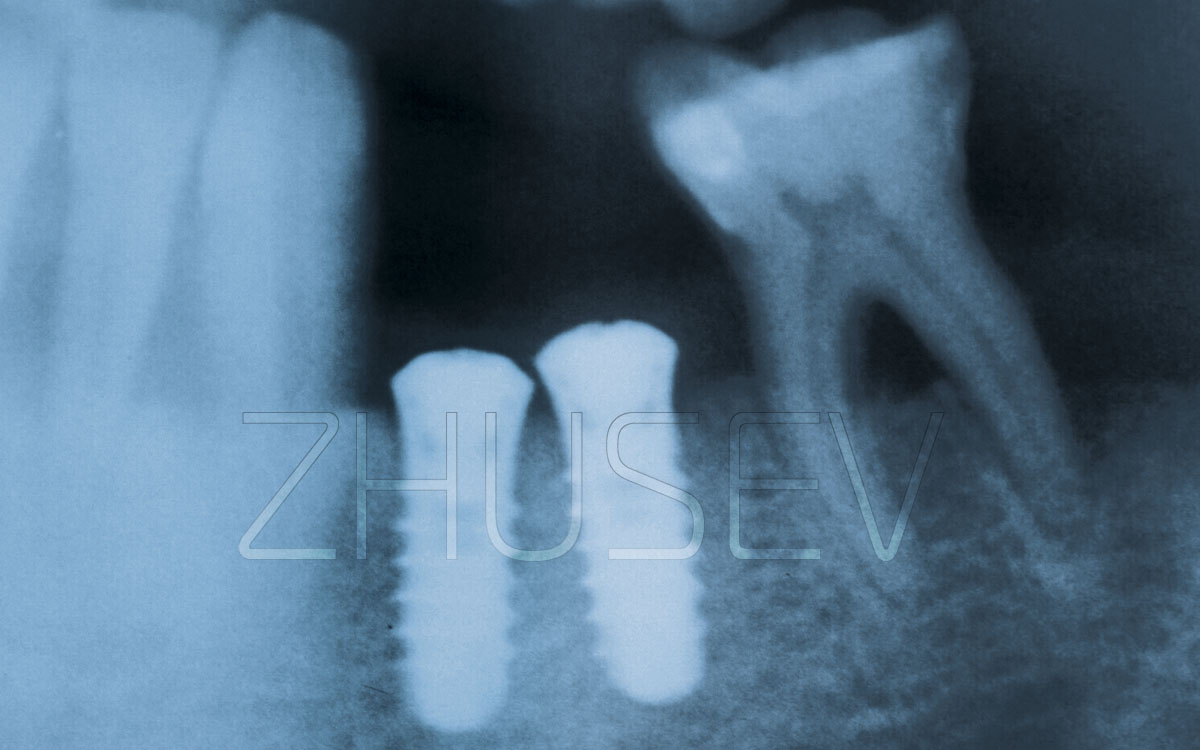
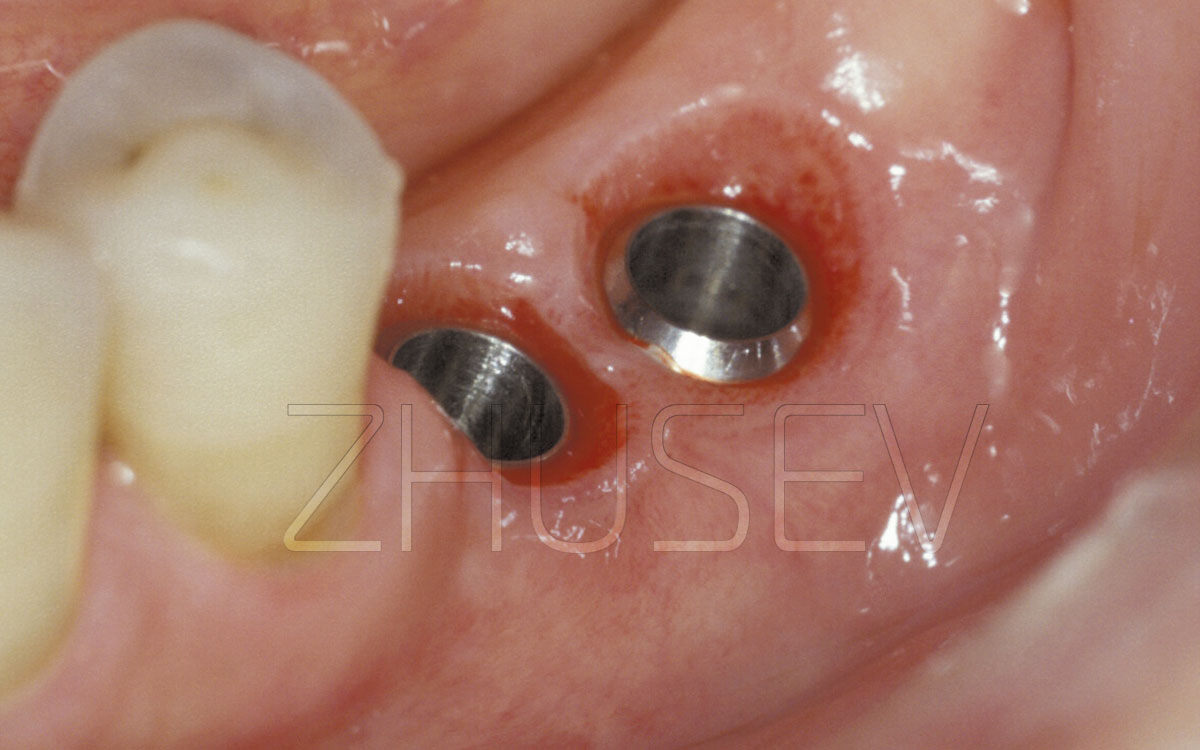
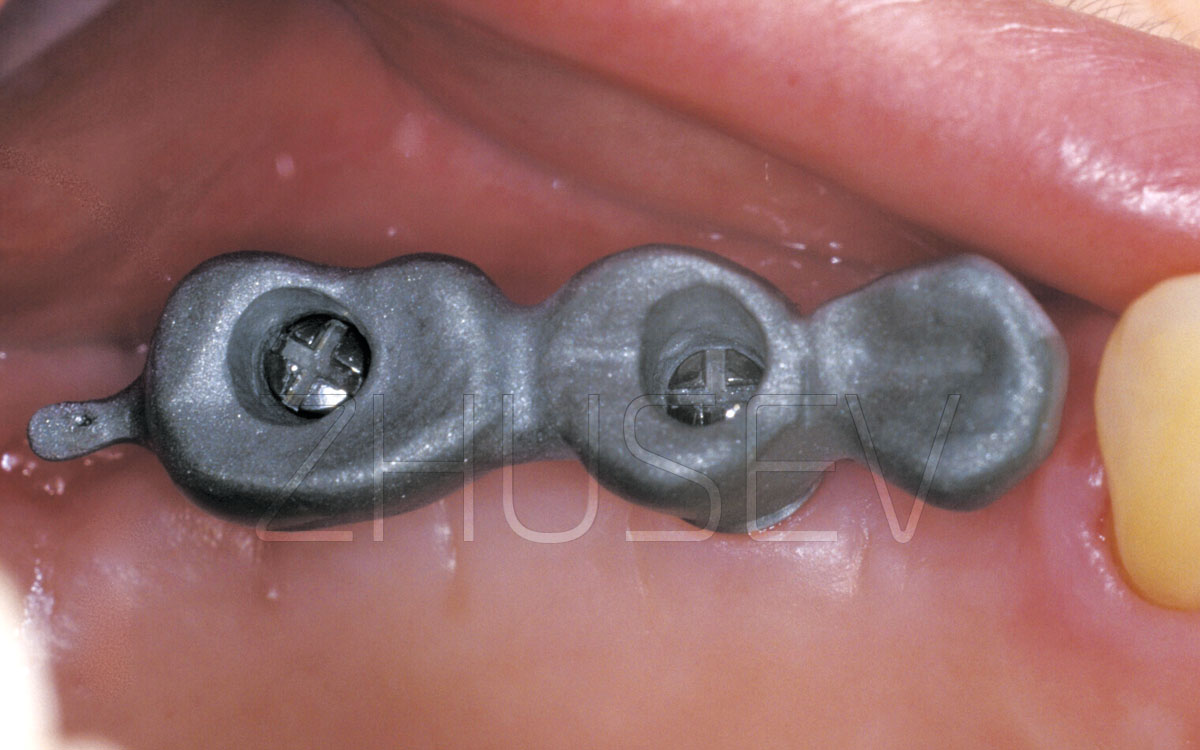
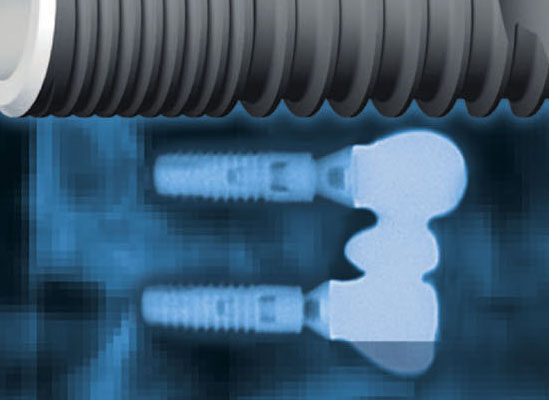
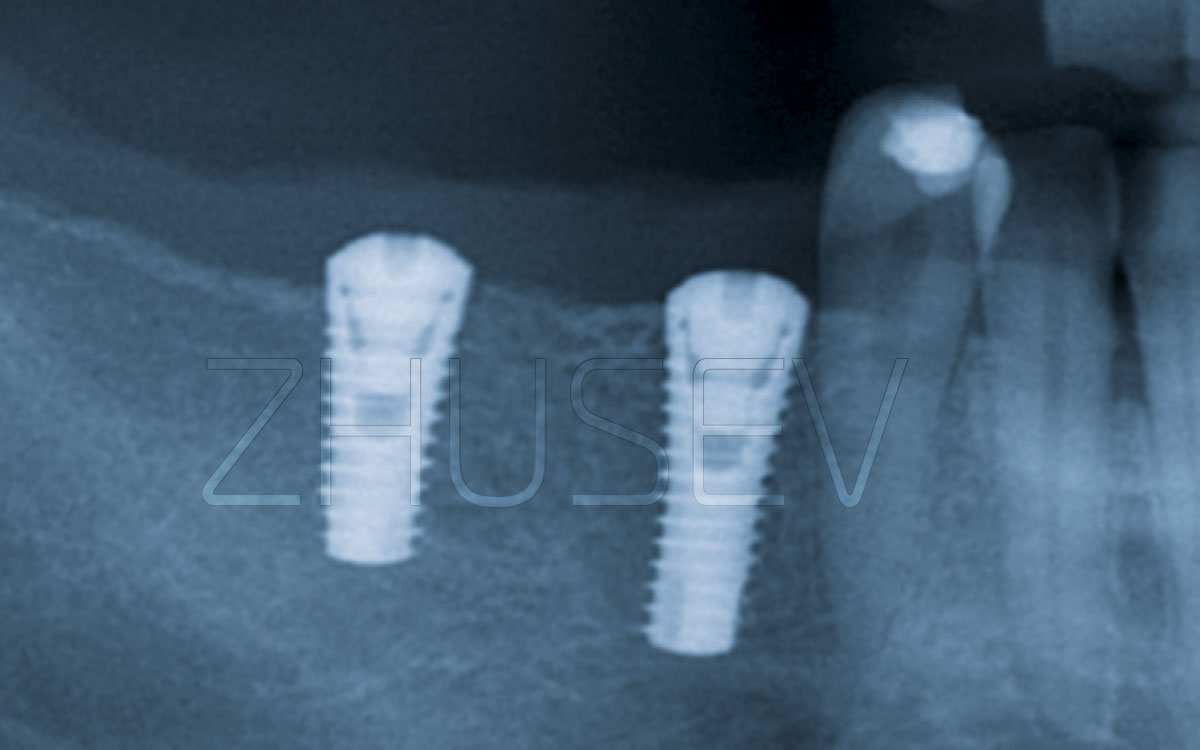
It is essential to try to preserve sufficient interdental septa between several adjacent implants. It is usually considered that their optimal width must be at least 2 mm, otherwise the septa may get lysed. Here it is necessary to mention that it is not always so, much depends on their angulation towards each other, careful preparation of the implant site (remember about thermal injury), local trophicity and the following prosthetic procedure.
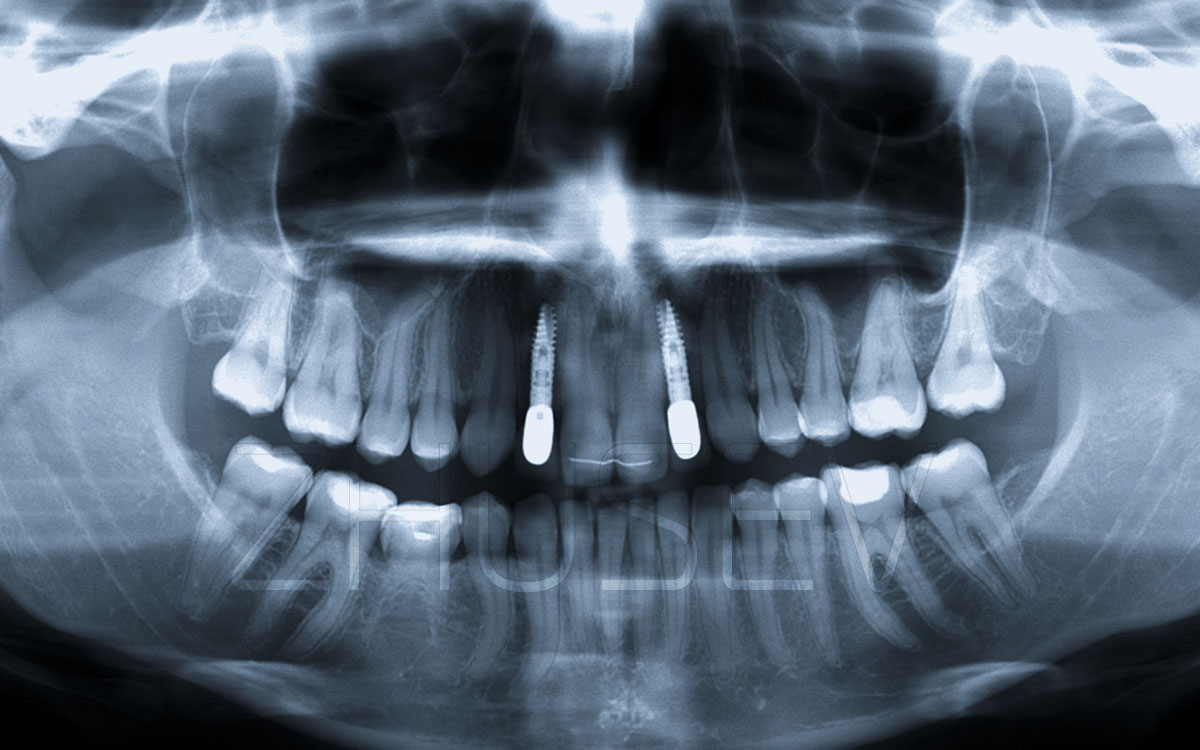
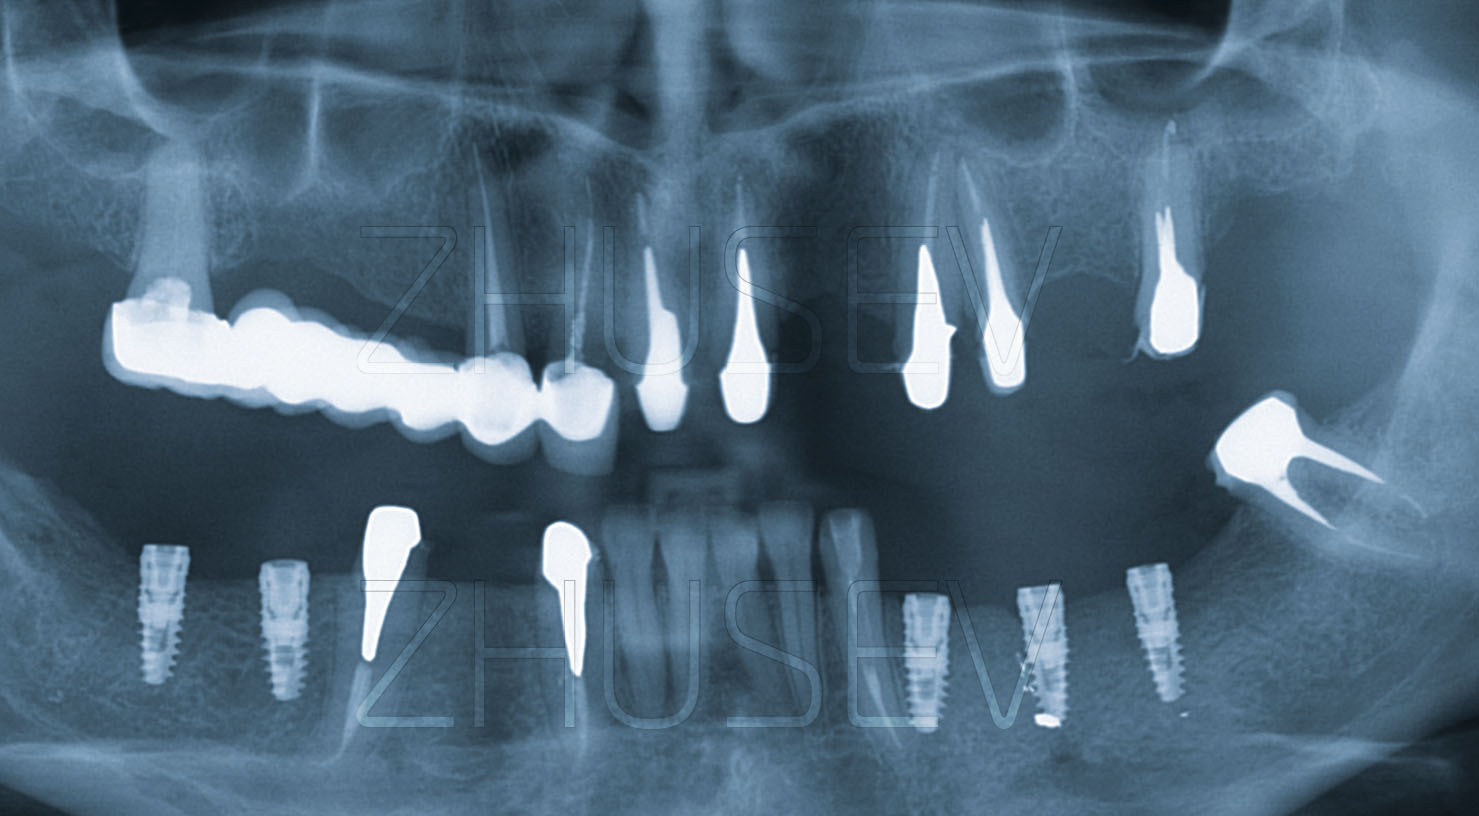
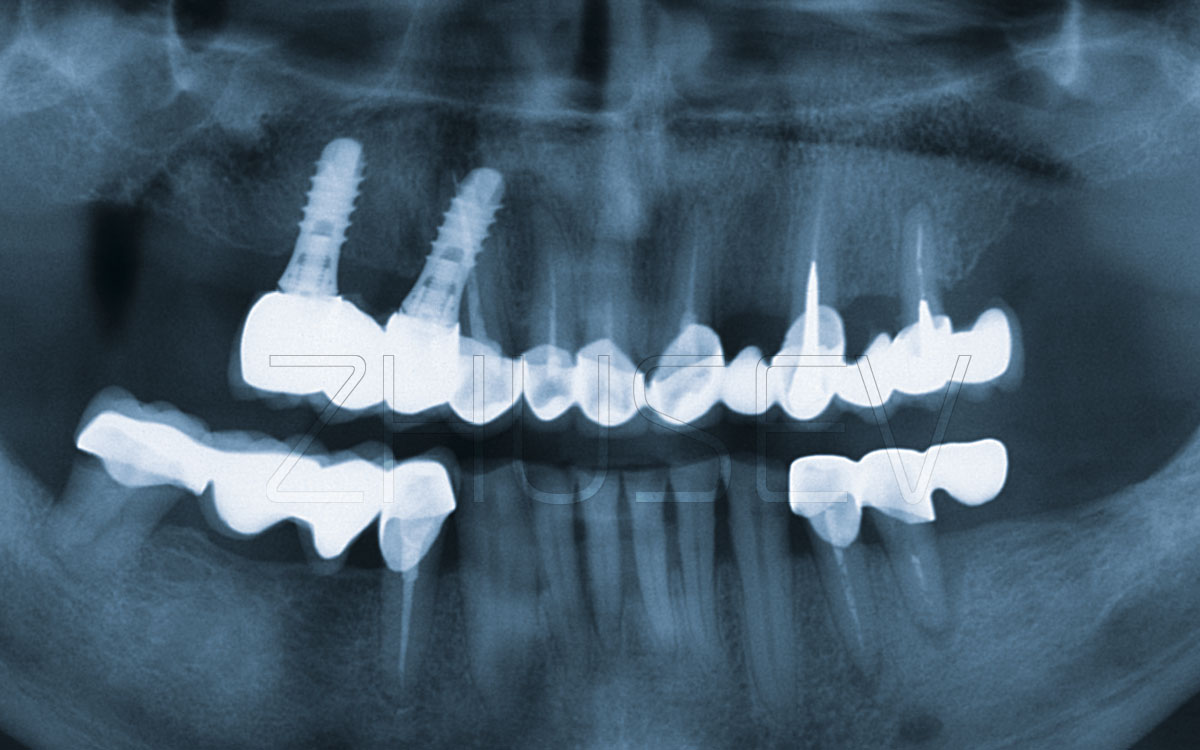
The provided case 4.4-6 is quite common (e.g. implantation on the site of the lost teeth 36 and 37 and tooth 38 converging in the direction of the defect). There is space left which is too big for one implant and too small for two. It is indeed more appropriate to insert two implants rather than one. Only you shouldn’t try to make the implants parallel to each other.
Try to insert the distal implant parallel to the axis of tooth #38 and at an angle to the mesial implant 4.4-7.